
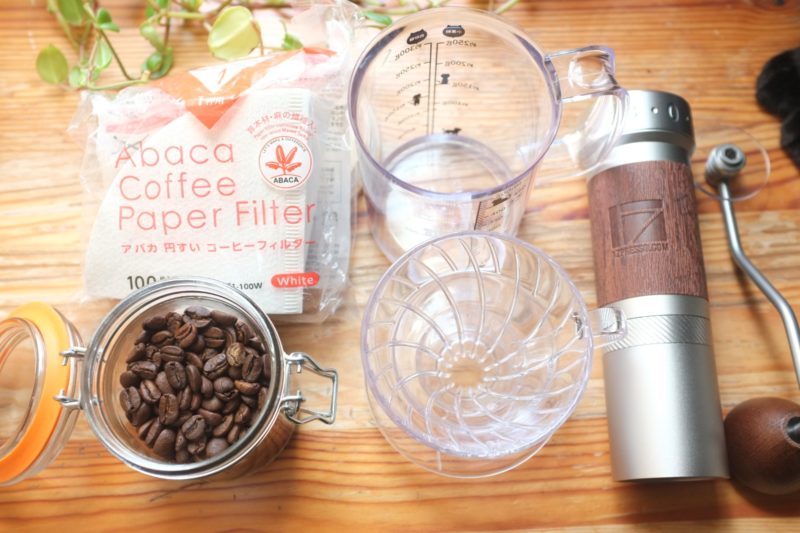
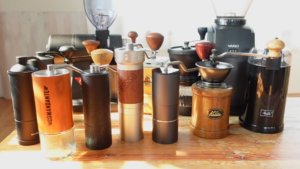
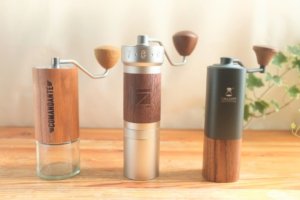
1zpressoを購入したのでレビューしていきます。TIMEMOREとコマンダンテも持っているコーヒーバカがラインナップから k-proをチョイス。 Japanモデルの jproと同じスペックらしいのですが、分解して使用感をご紹介します。
 ひろ
ひろ結論、精度もよく、一番力いらずで軽く挽けて、時間も短いので気に入りました。オール5みたいな優等生コーヒーミルです
 ビター
ビター力弱くて、せっかちだもんね。女性でも挽きやすいはあるよね

特徴
1Zpressoのコーヒーミルの特徴は、コーヒー粉の粒度の設定を外側で数値化したダイヤルで、できること。
普通のコーヒーミルは内部の刃の位置をネジの締め具合で、外刃と内刃の間隔を狭くするか広くするかで、調整していました。一番閉めた状態から、「カチカチ」とクリックの音を数えて設定します。
それに対して、なぜ、1Zpressoのコーヒーミルは外側で粒度の調節ができるのかと言ううと、
「調節を刃の上の部分のシャフトでやっちゃおうぜ」ということ。
外刃と内刃の間隔で粒の大きさを調節するという原理は同じだけど、上に持ってきたことで、外から調整が可能になったということ。
 ビター
ビター粒度の調整を数値化して「見える化」したことはデカイ!クールだ!
開封の儀
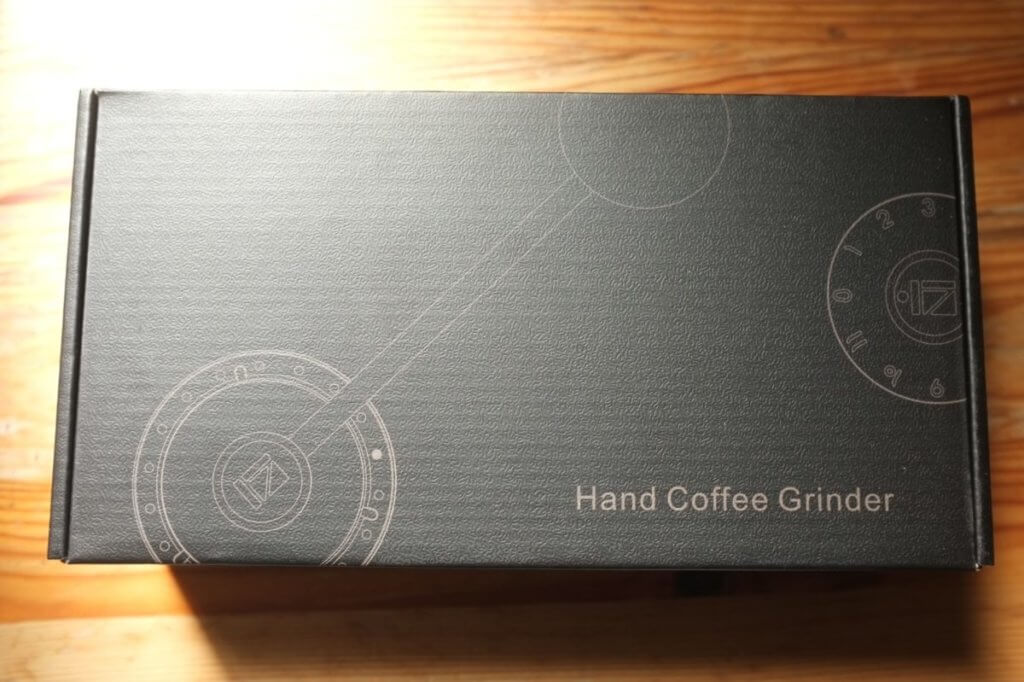
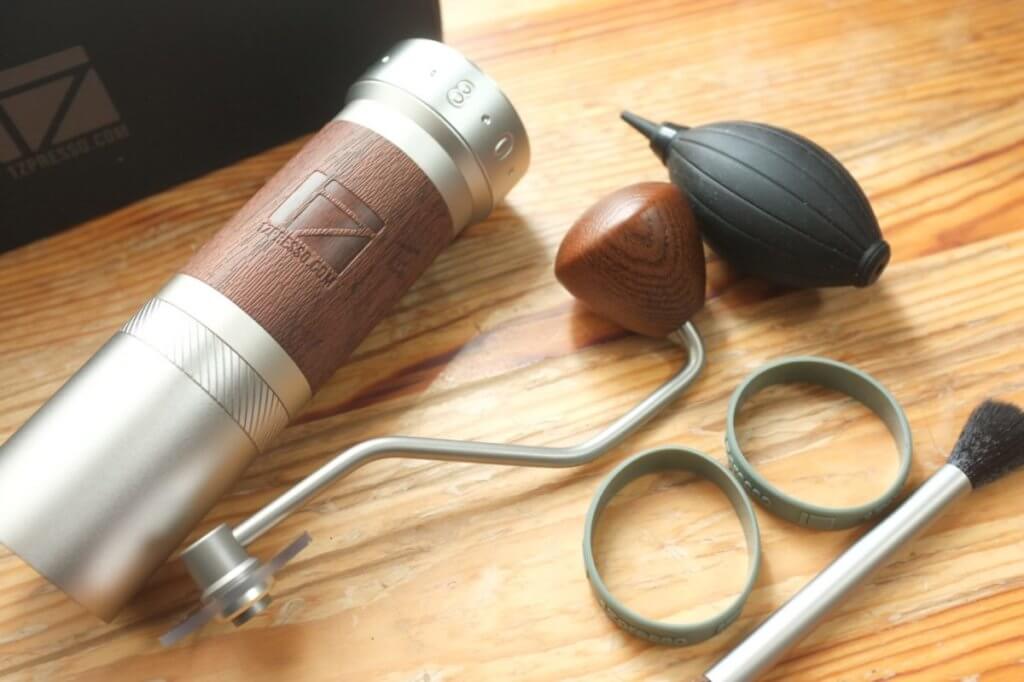
それでは開けていきましょう。パカッと。
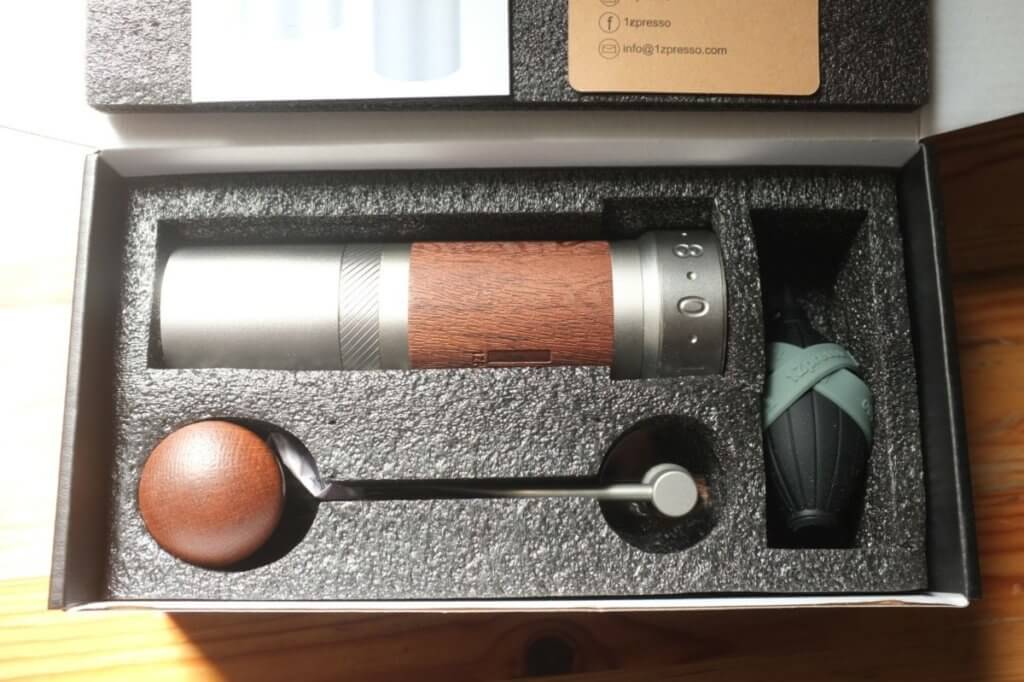
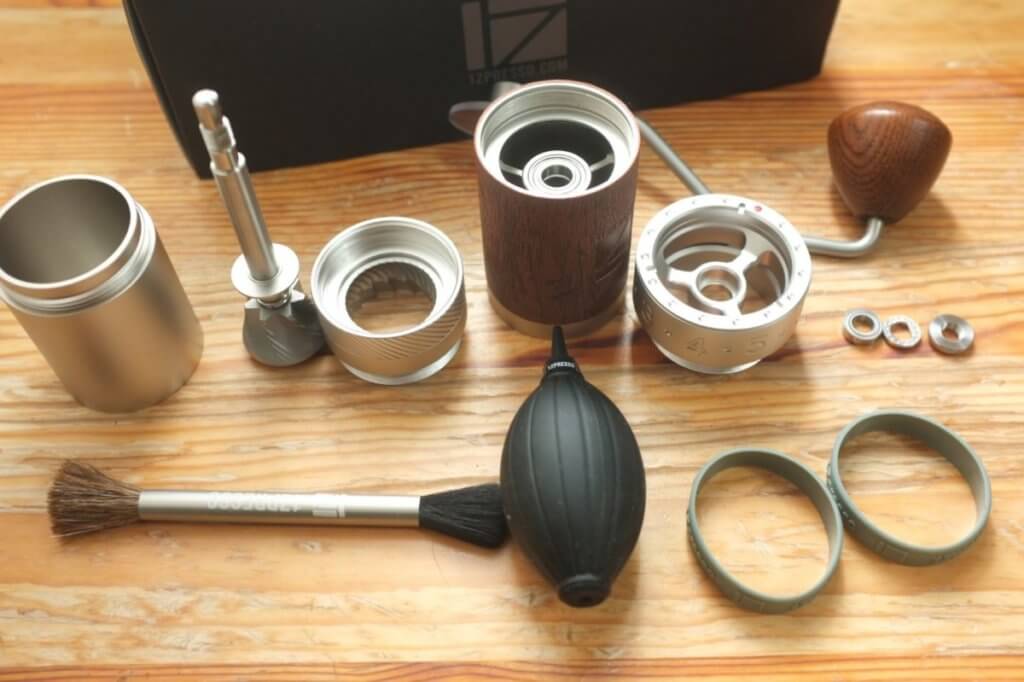
左から本体、アーム、、すべり止め、ブラシ、取説
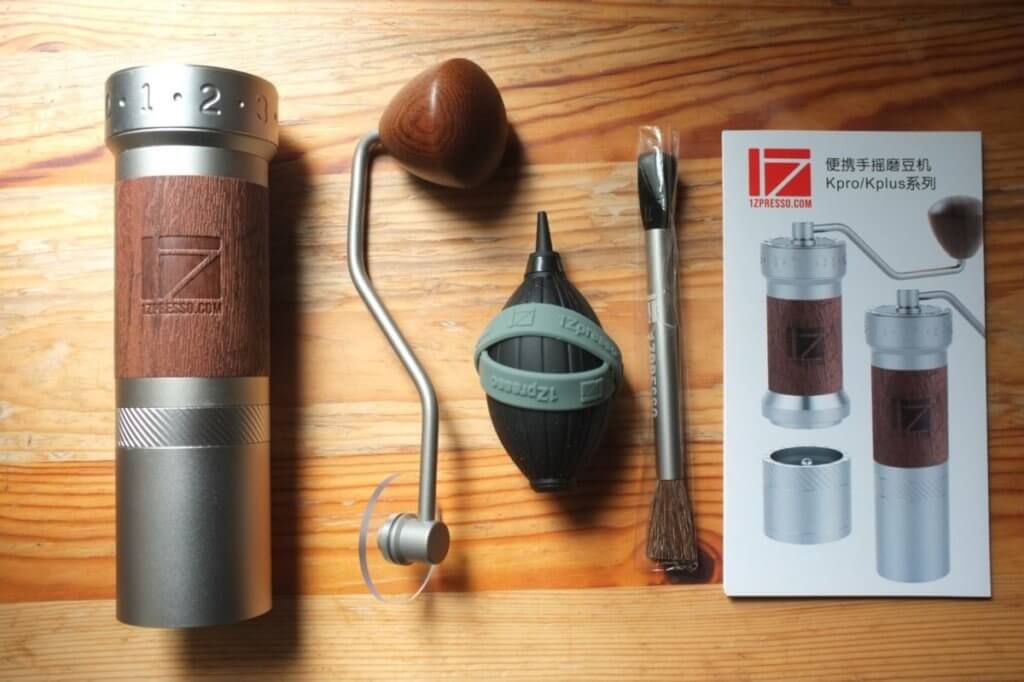
重量:750g
寸法:19.3×5.2×15cm
粉体容量:30-35g
材質:木材、ポリカーボネート、シリコン、ステンレススチール、アルミニウム合金
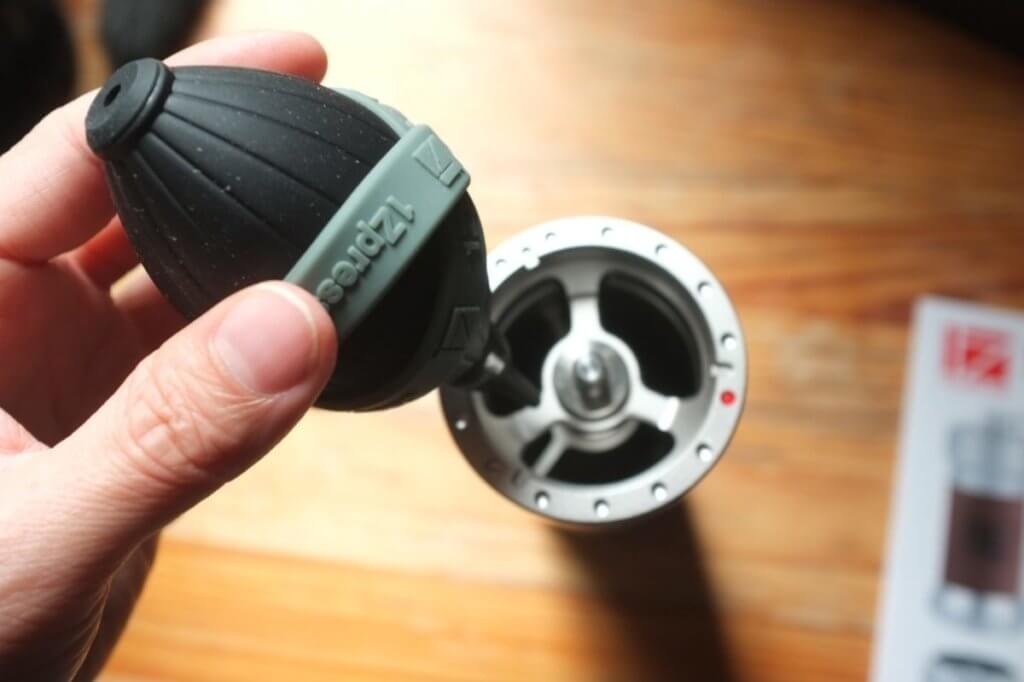
ブロアーが付いているのは親切ですね。
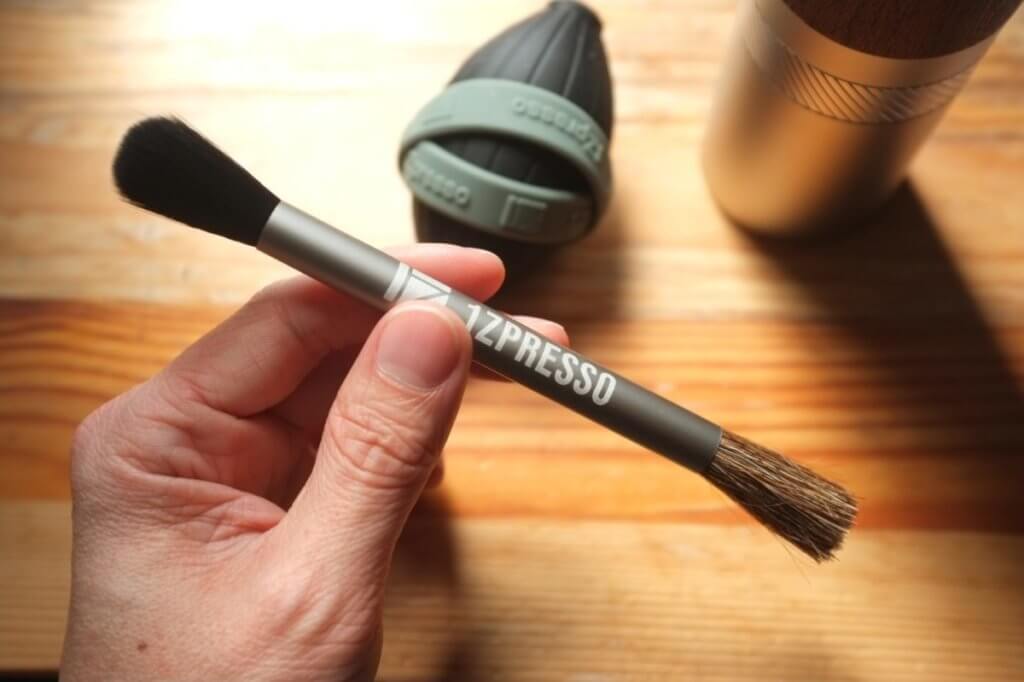
ブラシも硬さが違う2種類の毛になってます。
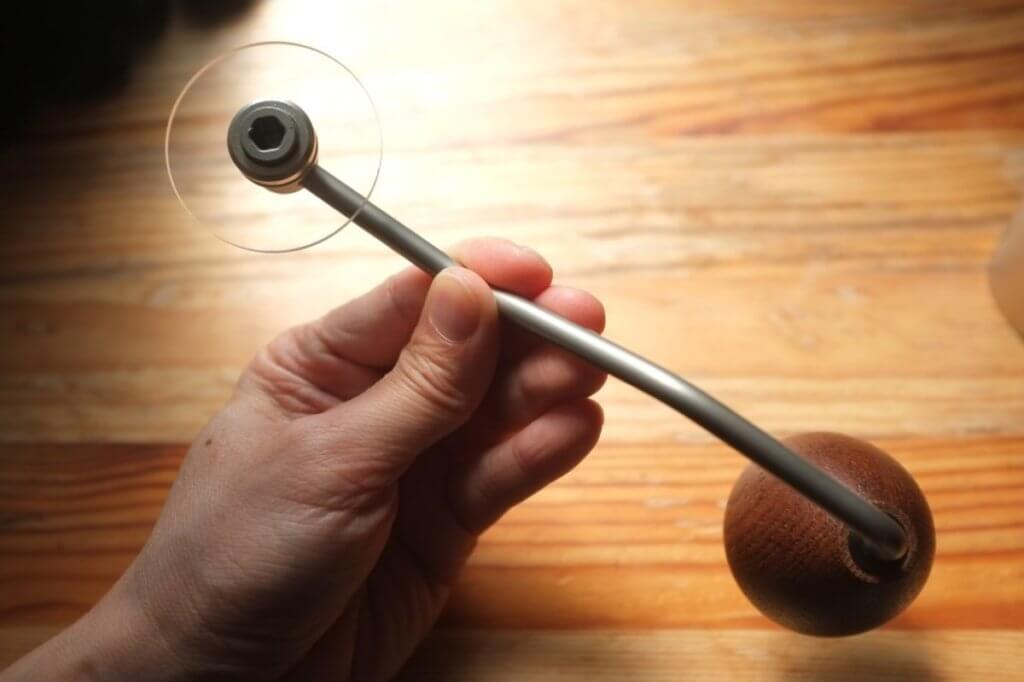
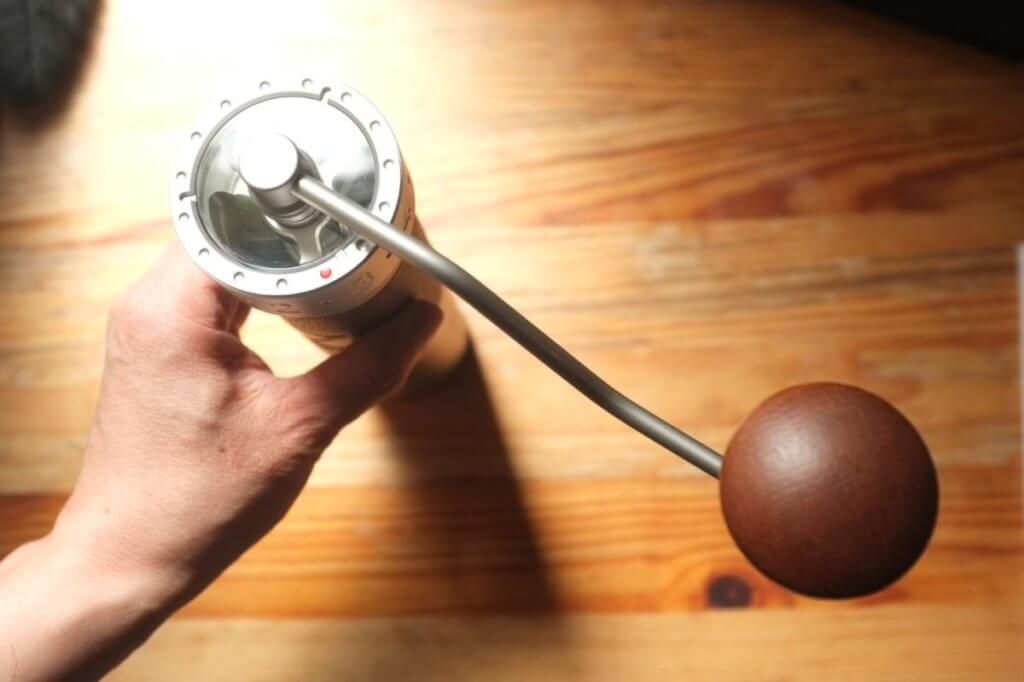
アームは持つところが木製、フタはプラスチックで中が見えるようになっています。
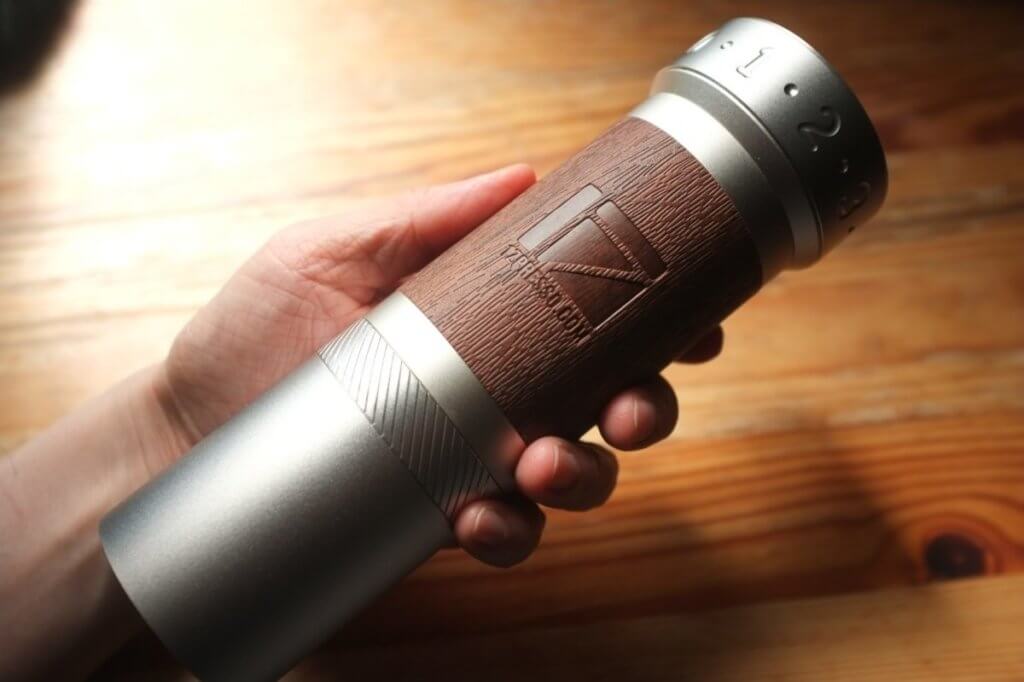
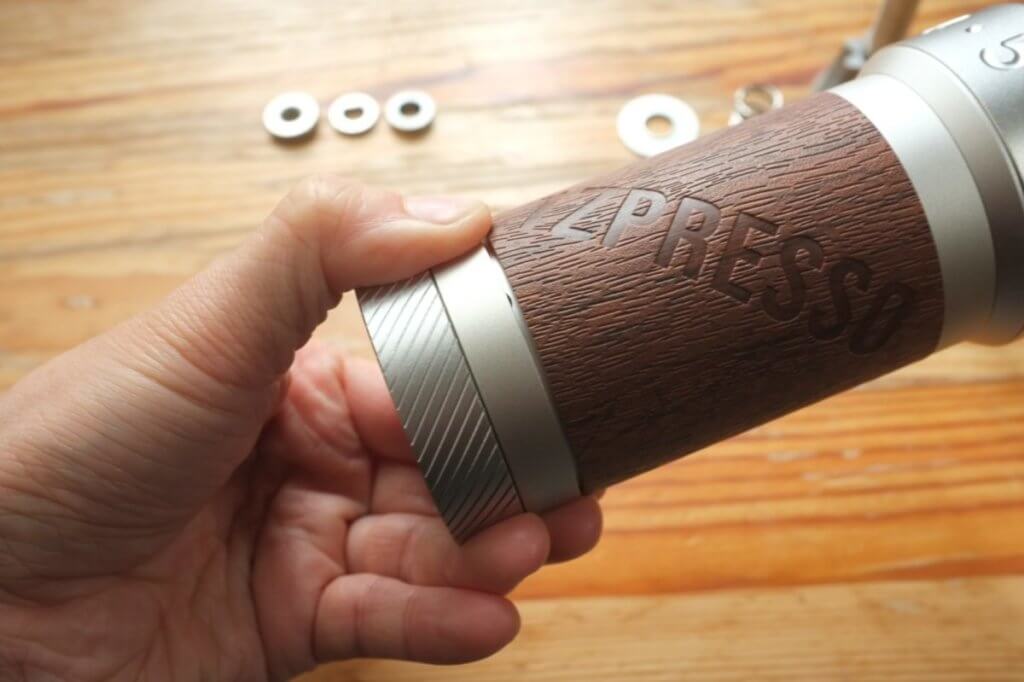
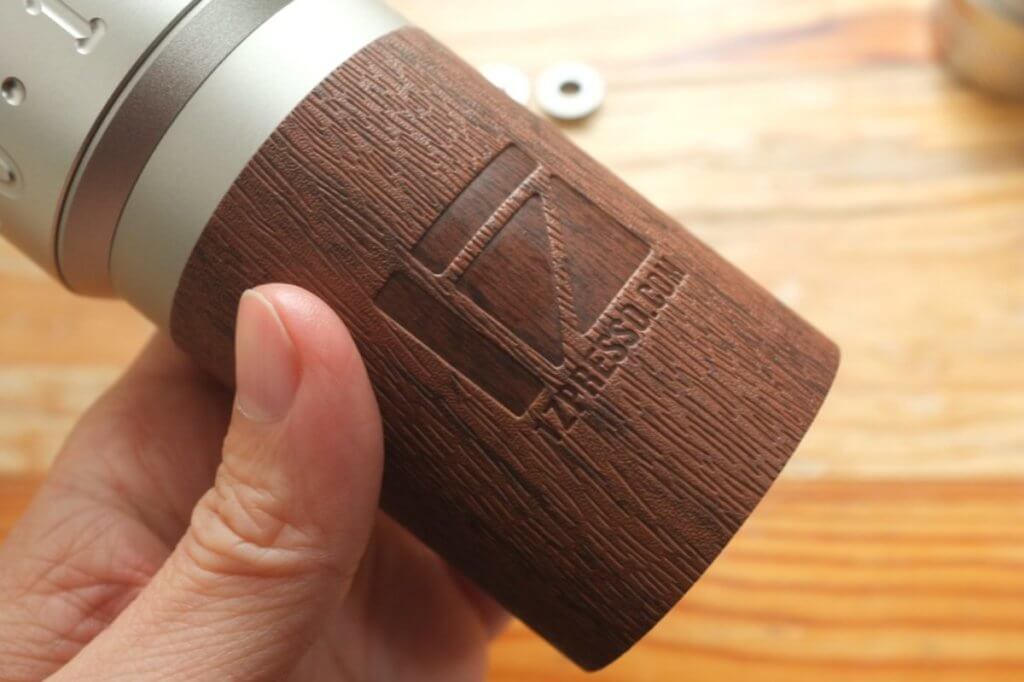
こちらが本体です。ずっしり重い。持つところは木製でなくポリカーボネートかな。合皮みたいな素材。
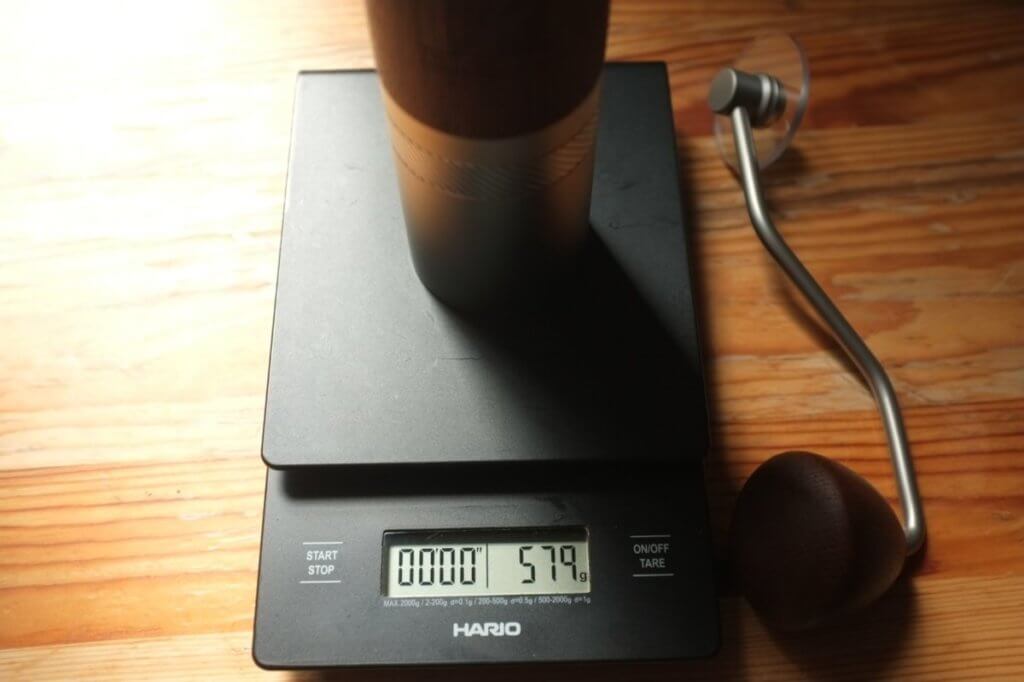
重さを計ってみましょう。579gね。500mlのペットボトル1本を持ってるぐらい。ケッコー重いでしょ。
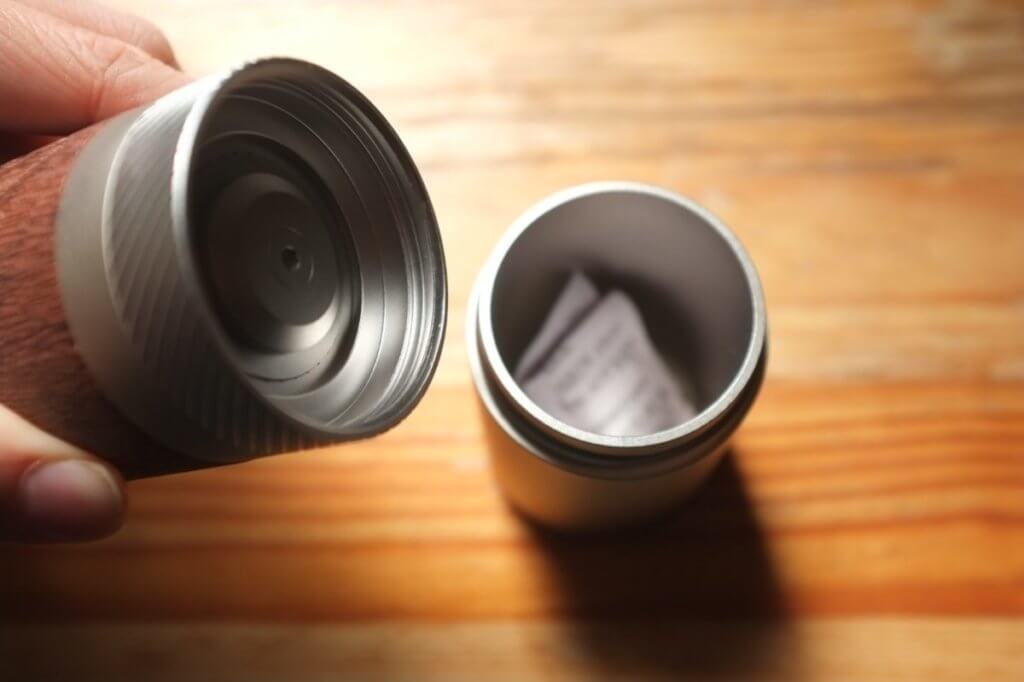
粉受けを開けると、乾燥剤が入ってました。
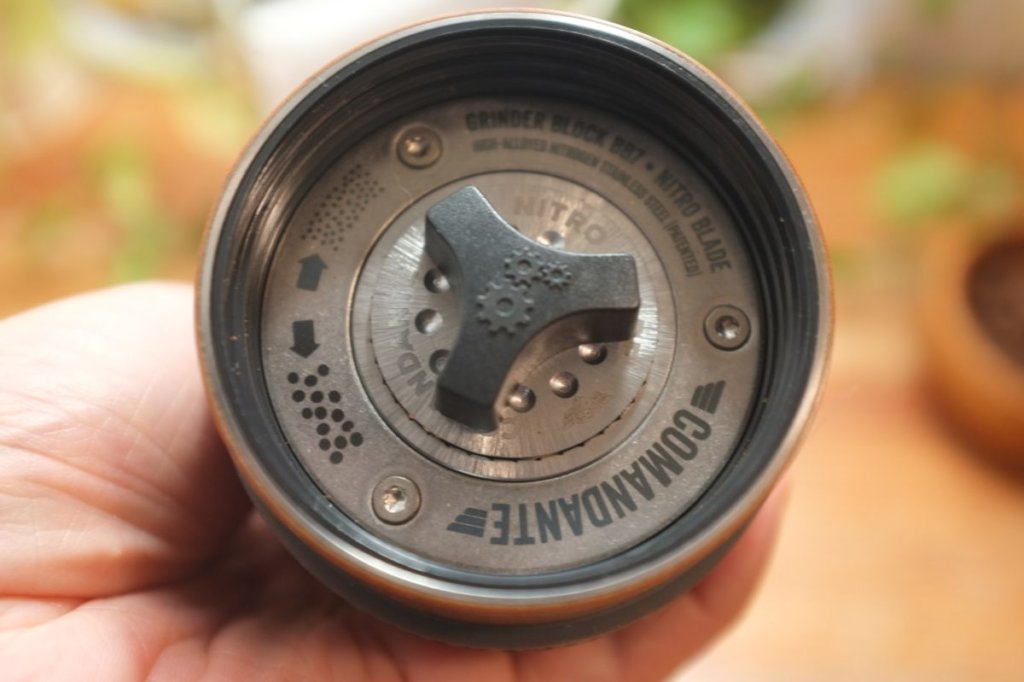
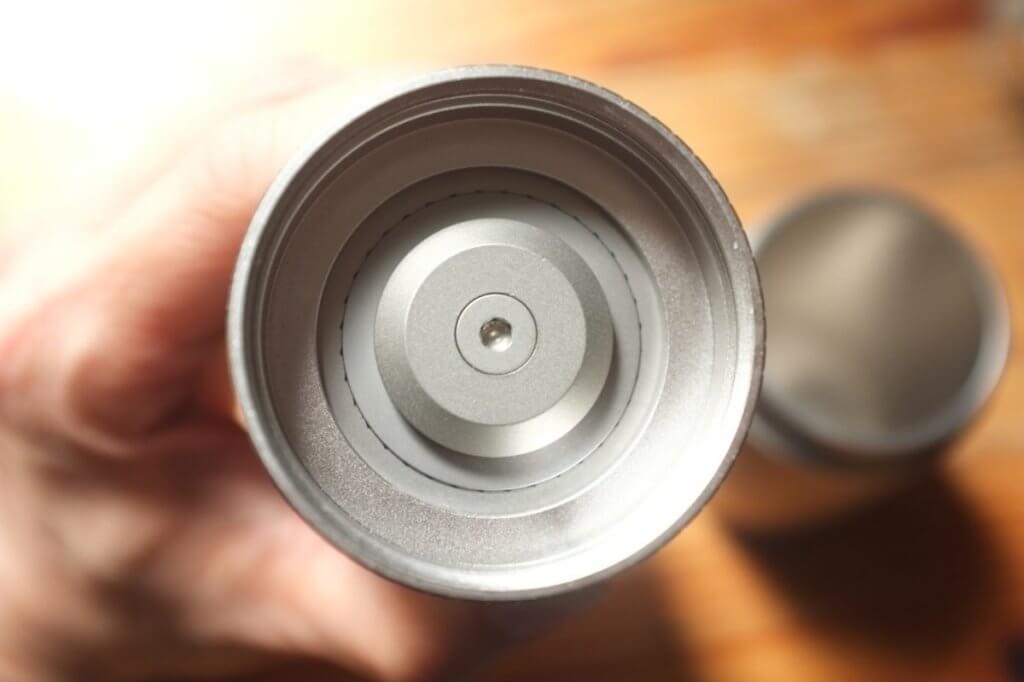
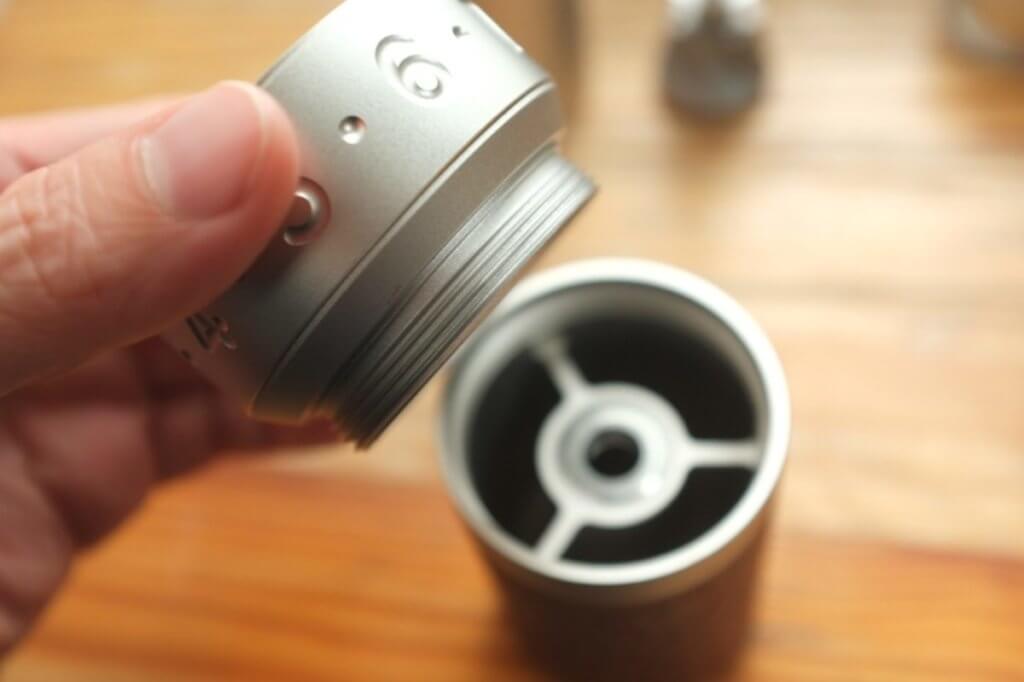
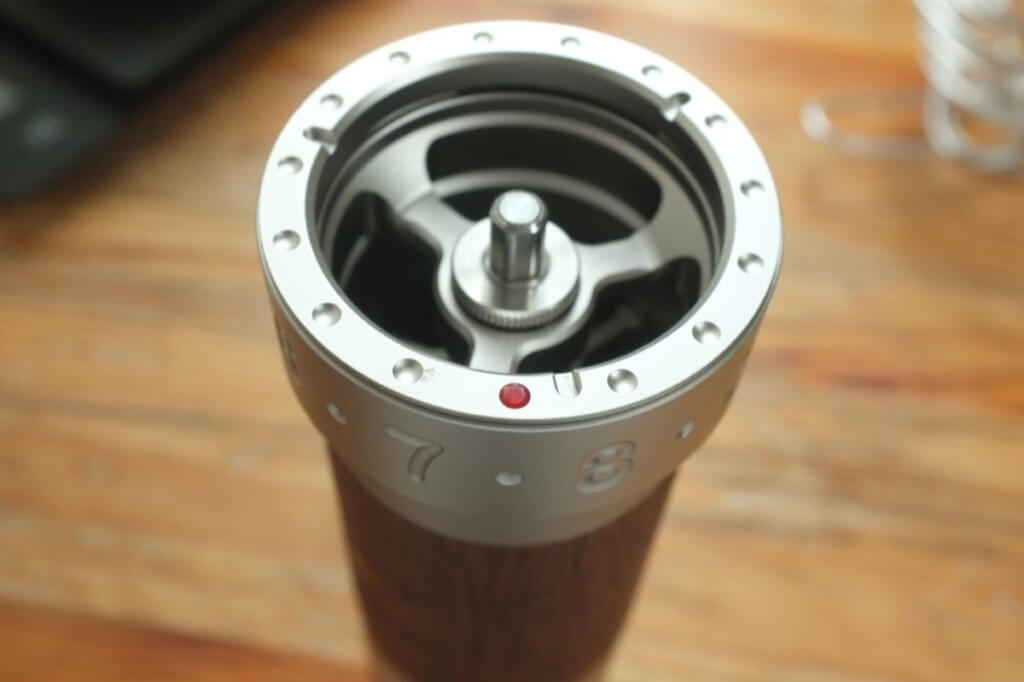
カンジンな心臓部、刃の部分です。シャフトで挽目を調整するのでシンプルです。ミニマルな工業製品ってカンジですね。
アームを取り付けてみましょう。おおお、いい感じだ。
分解してみよう
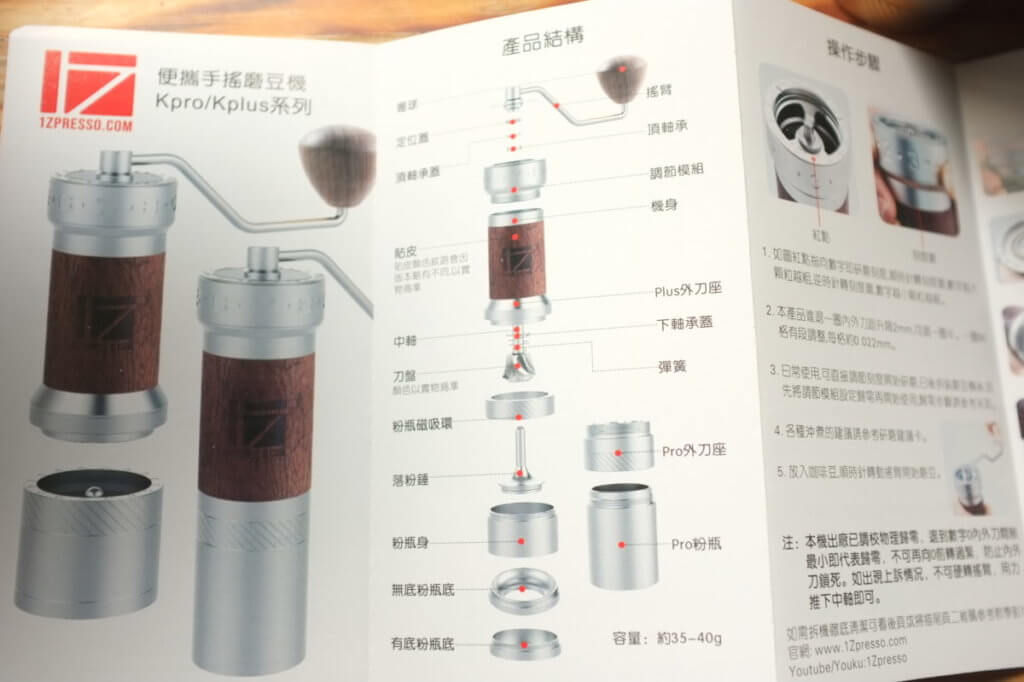
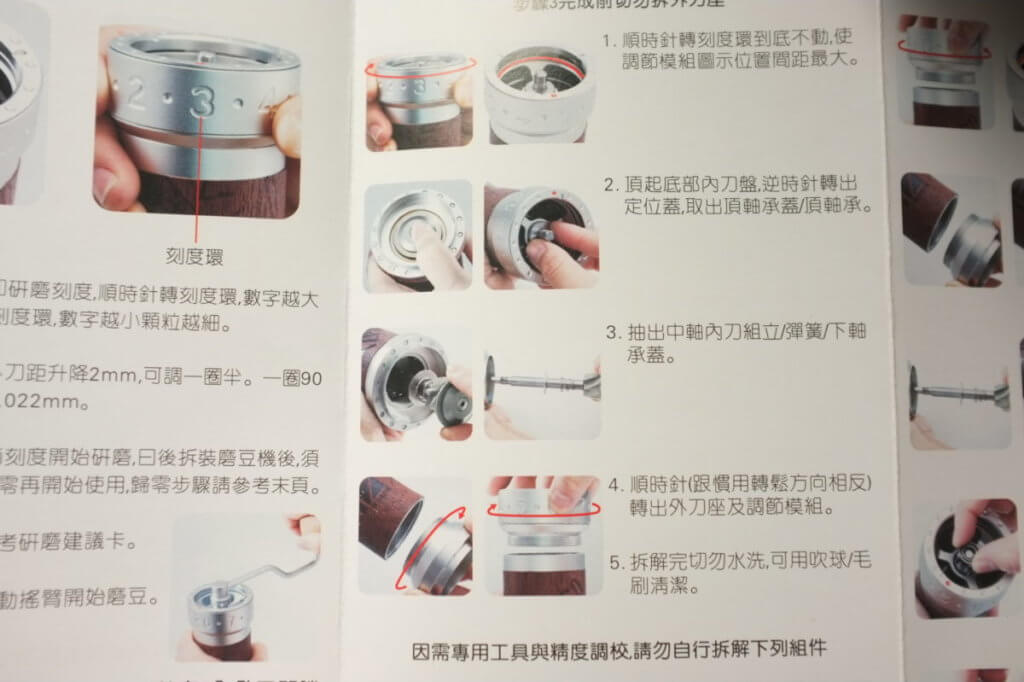
説明書が中国語ですが、写真があるので、なんとなくわかります。
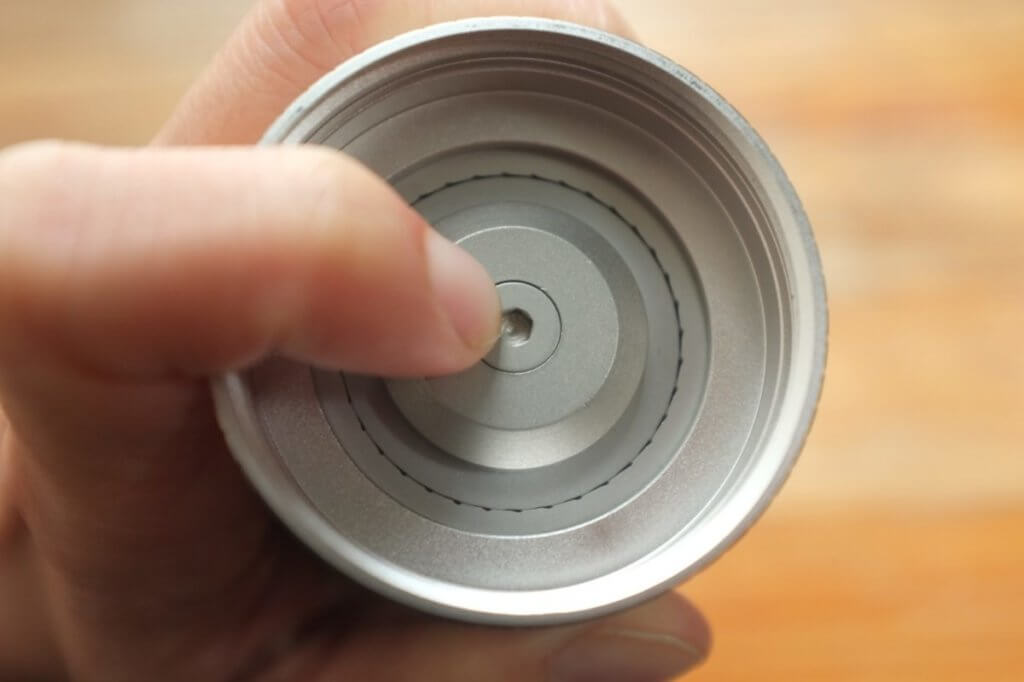
まず刃を押さえる。
シャフト上部のネジをゆるめていく。
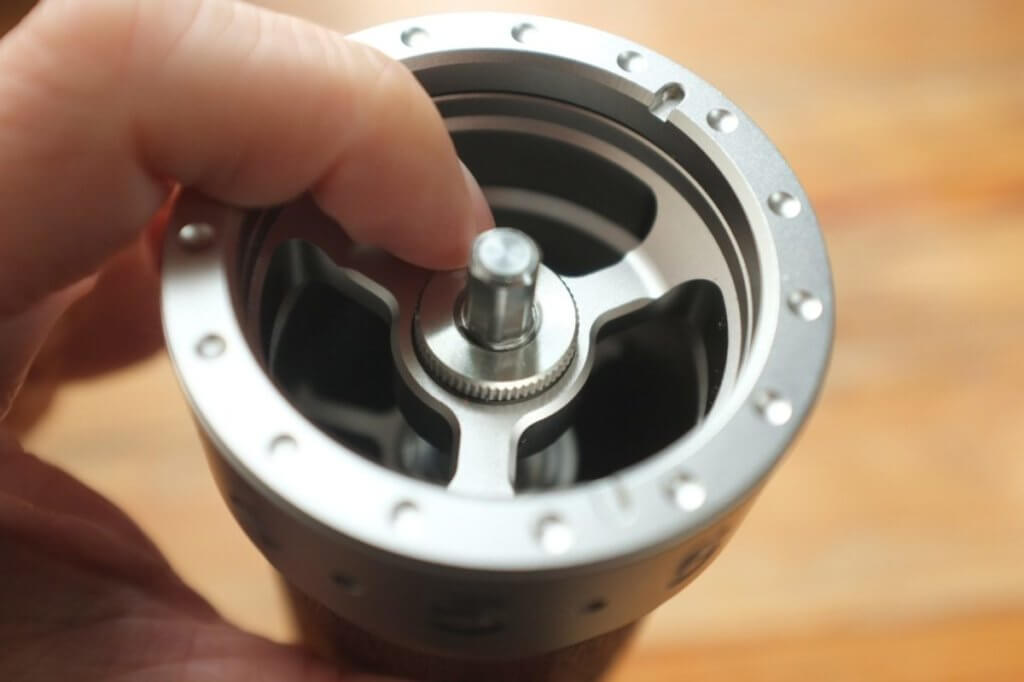
1個ネジを取って。
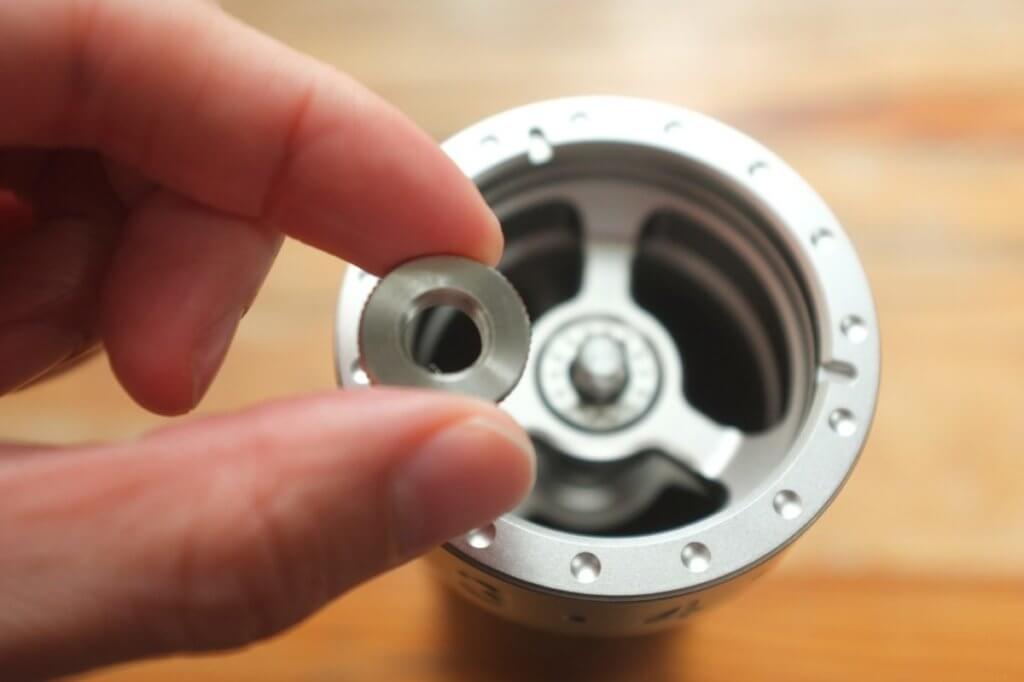
調整のリングかな。
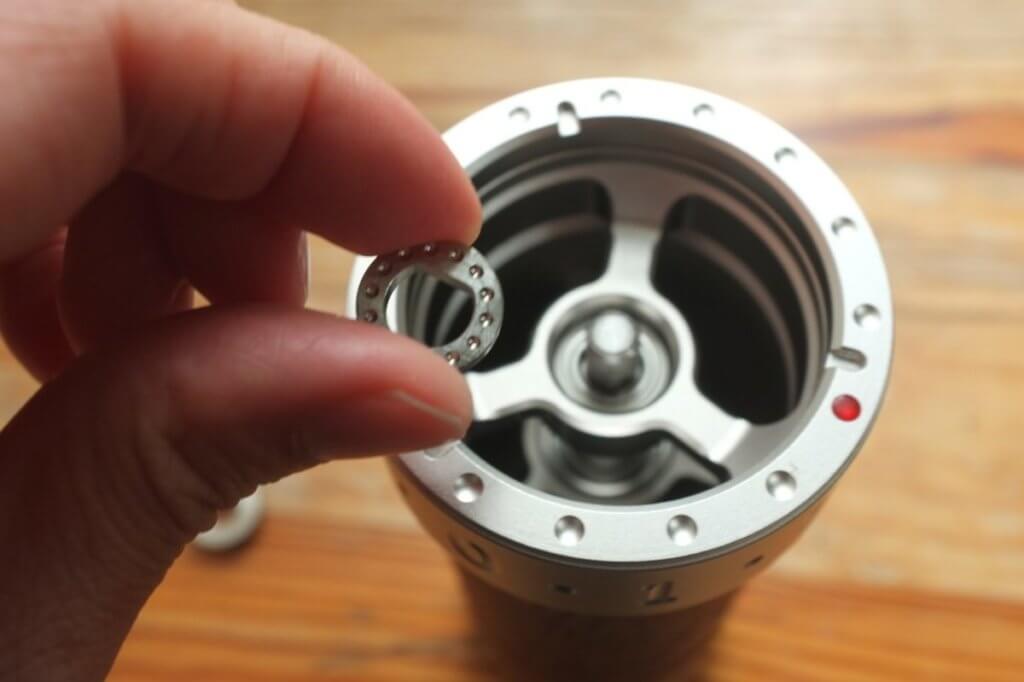
もう1個ベアリングね。
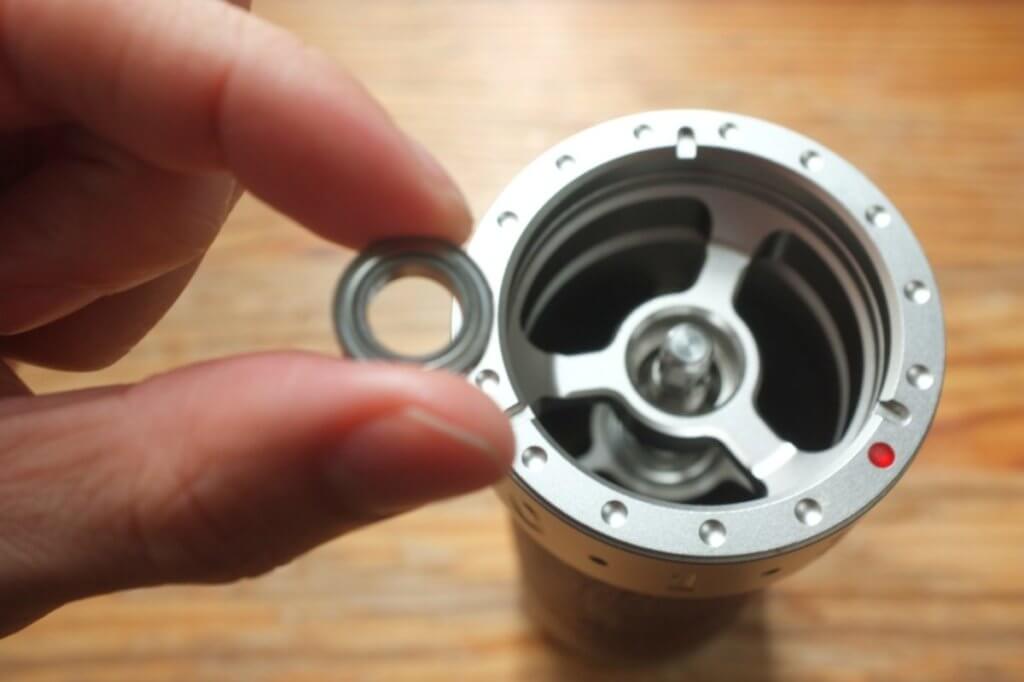
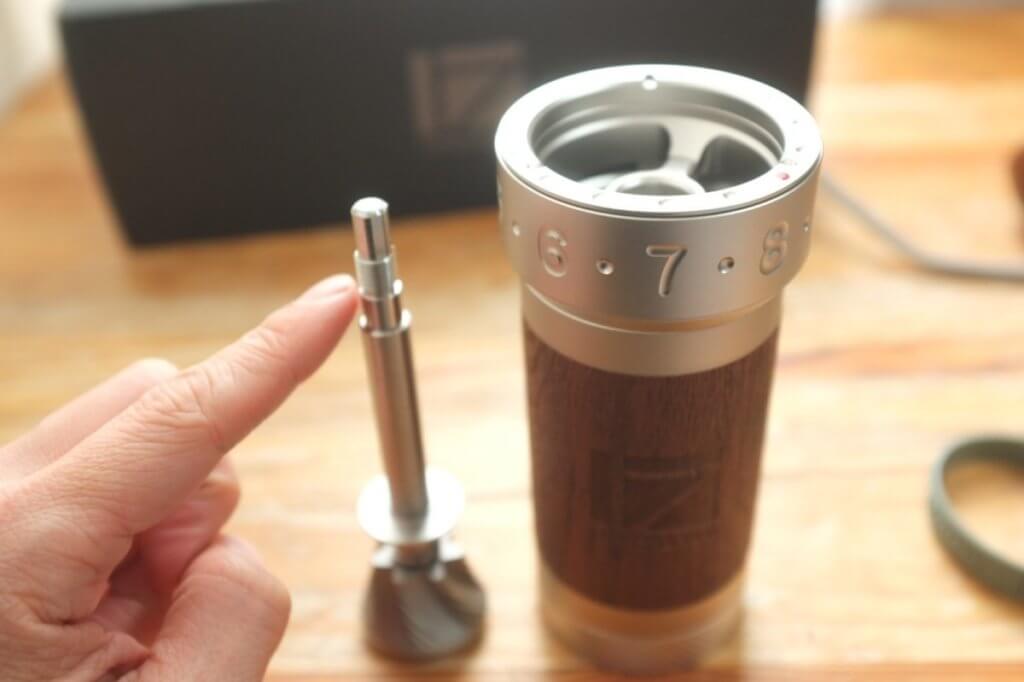
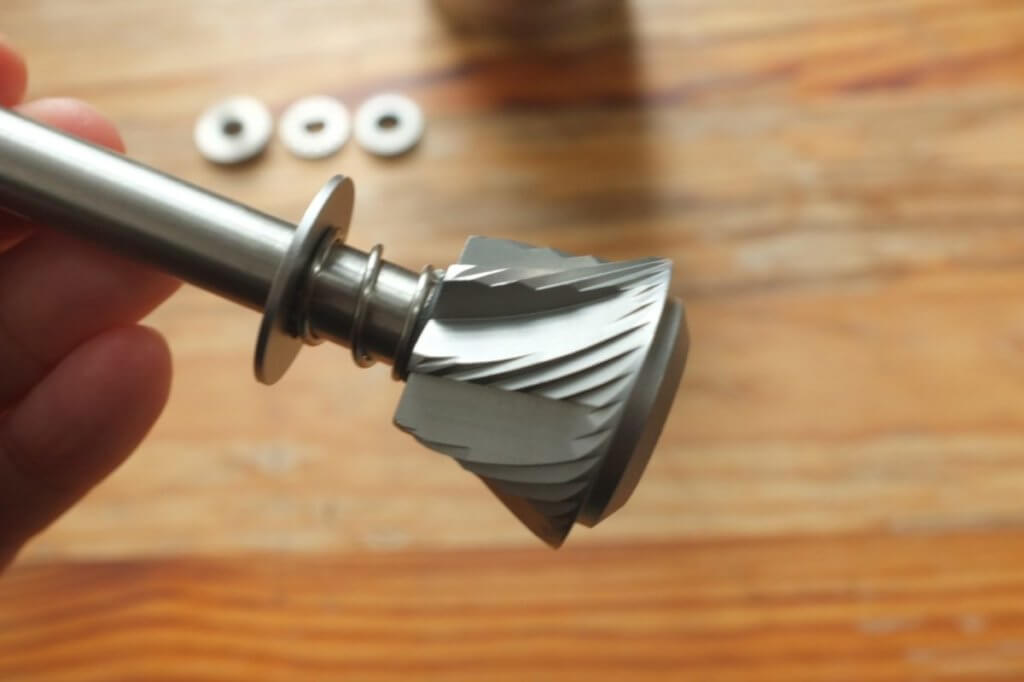
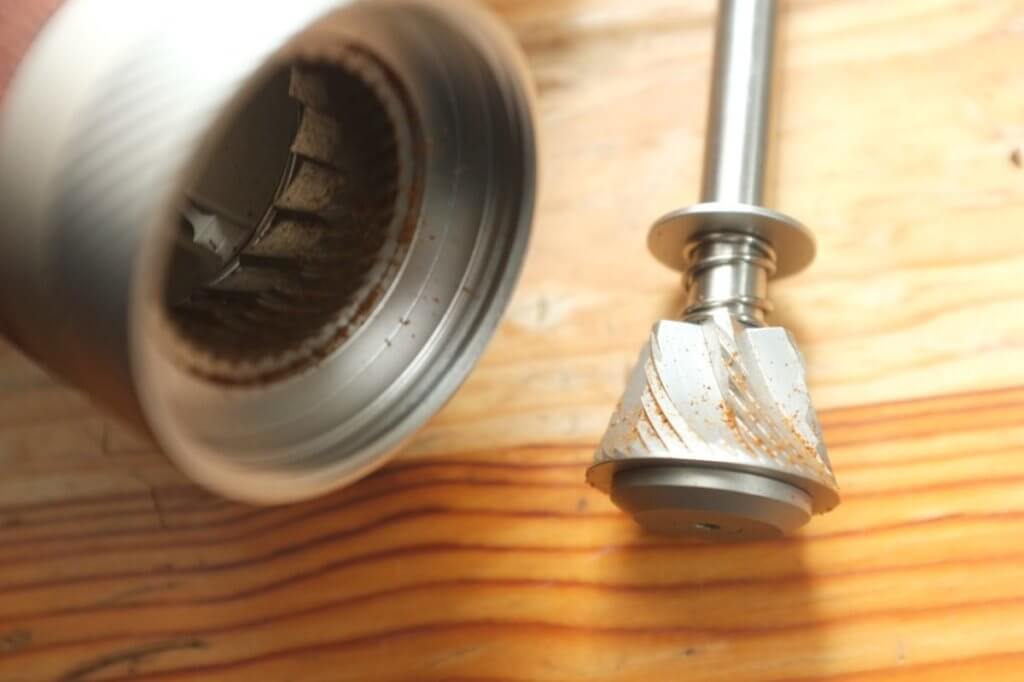
はいこれが刃。シャフトと一体型です。
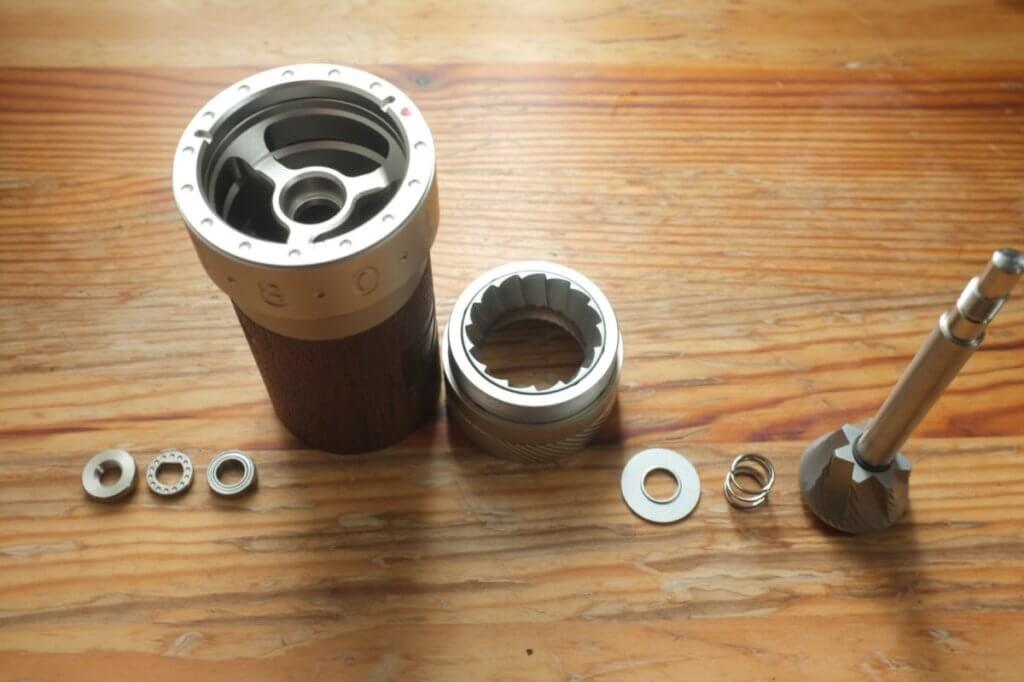
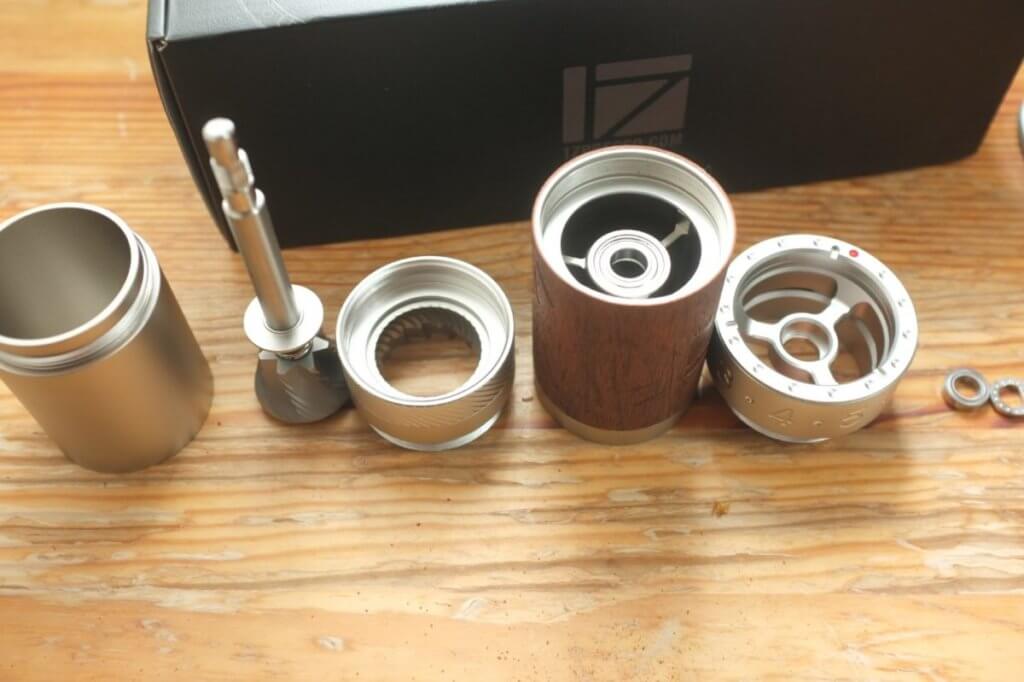
さらにバラすとこんな感じ。左が上部のパーツで、右が下部のミル刃のパーツ。
では次に外刃を外していきます。アレ?固い。全然回せない。
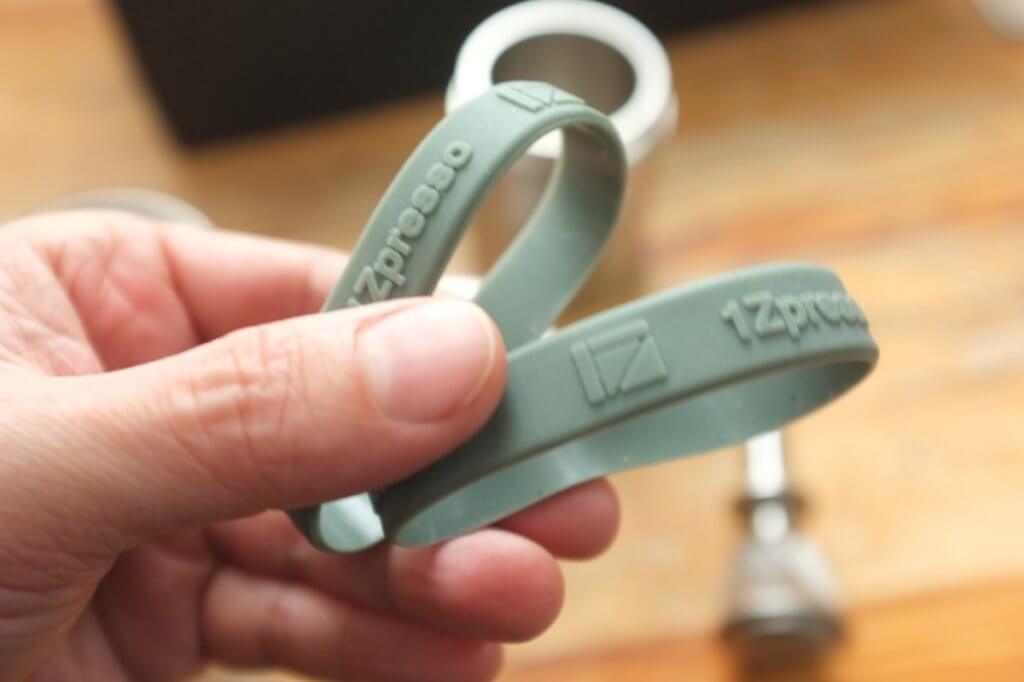
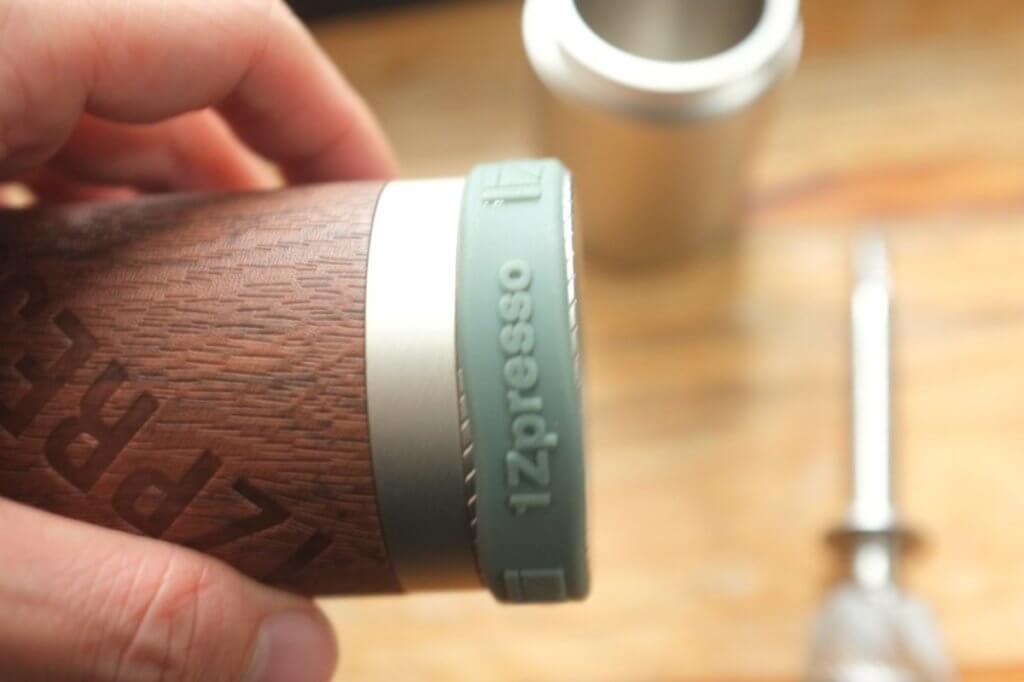
そうかシリコンのすべり止めを使うのか。
外れました!外刃はこんな感じ。
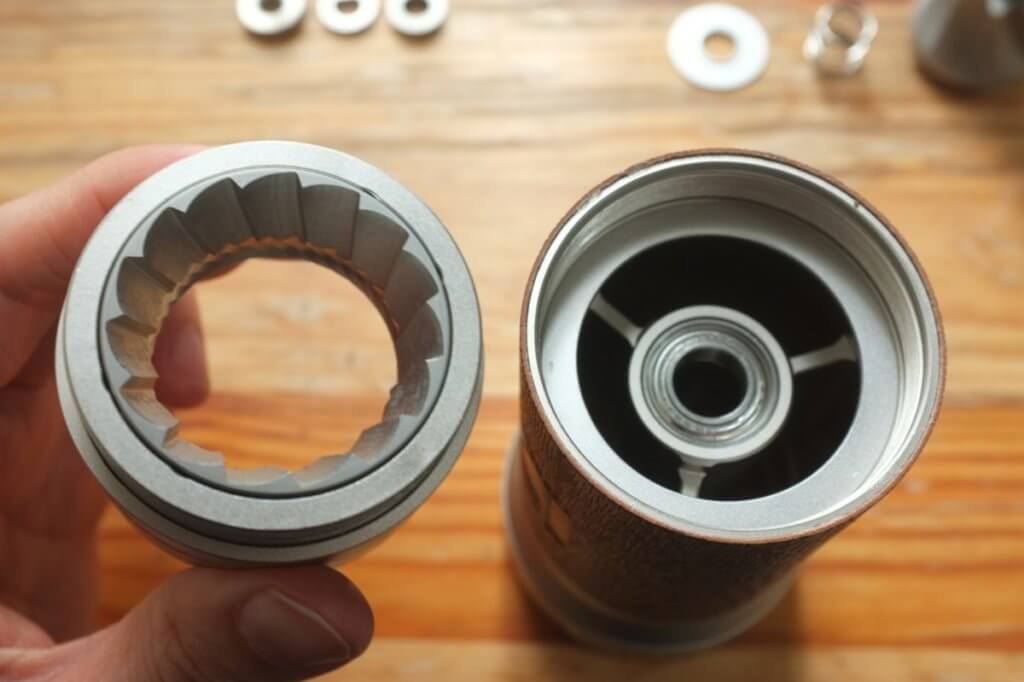
ザックっザクやぞ。
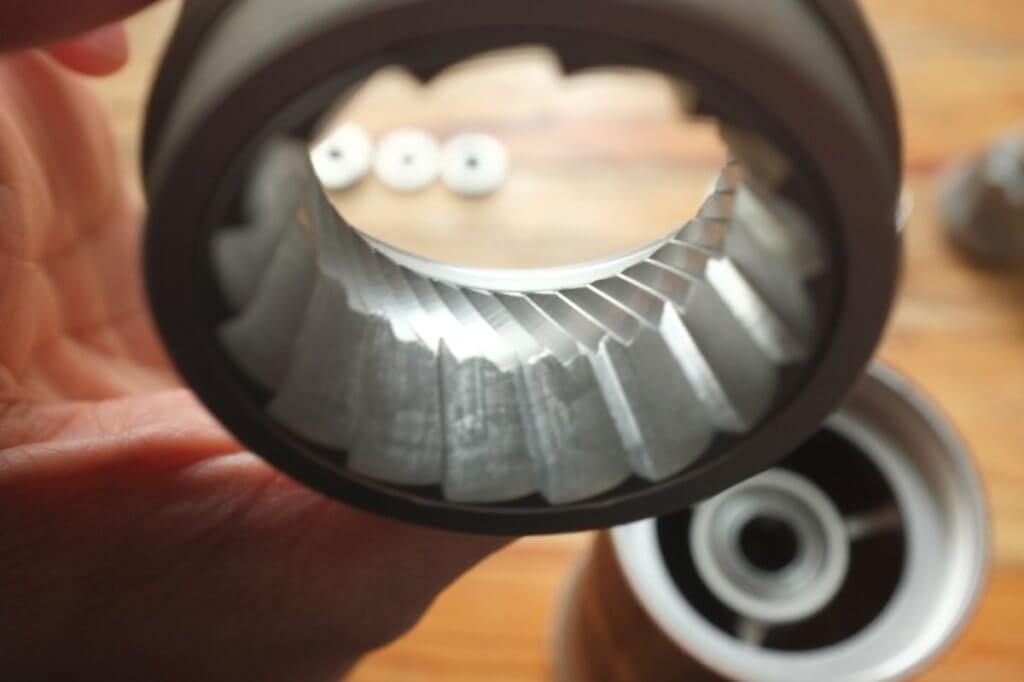
大きい刃と小さい刃の2段階になっていますね。
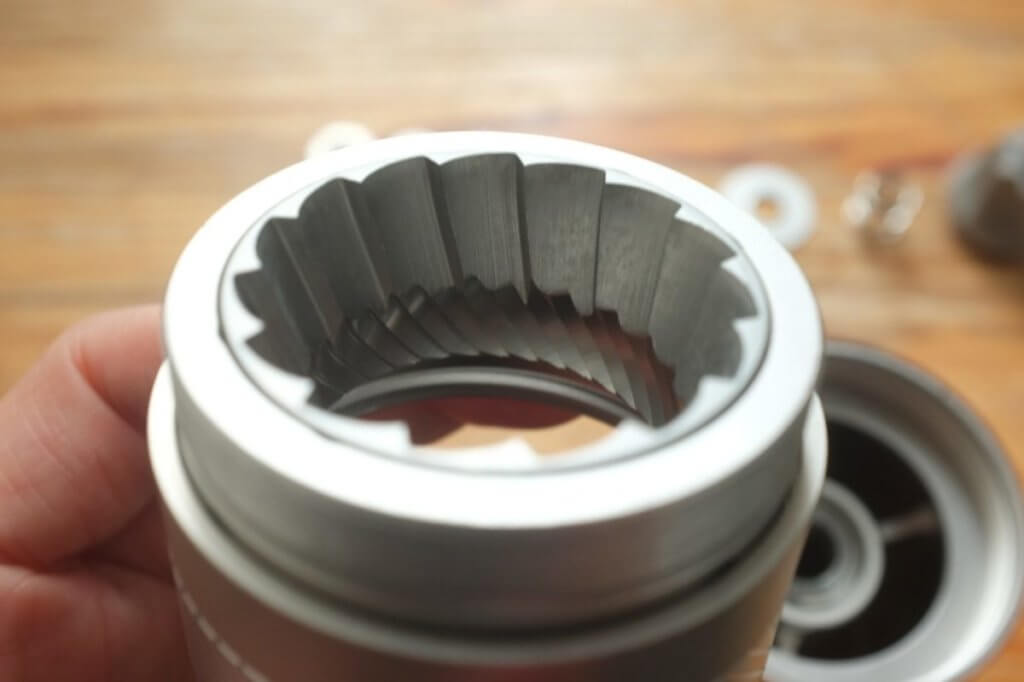
この外刃と内刃でコーヒー豆を切っていってくれるわけですね。

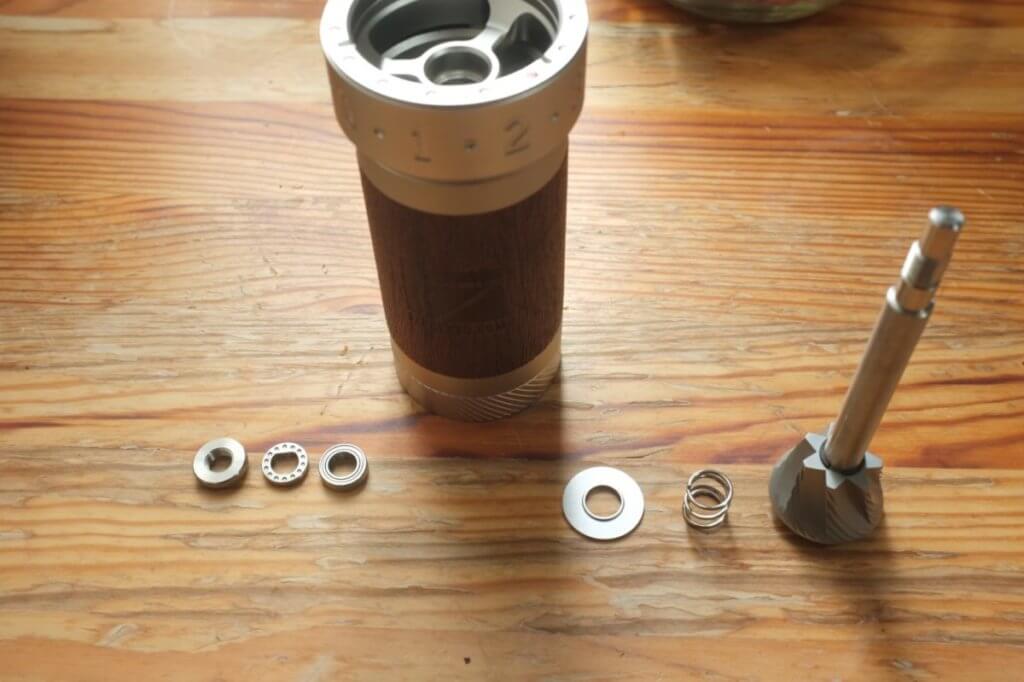
本体上部の構成パーツです。左から順番に並べました。
説明書を見ると、まだ分解できますね。
調整ダイヤル部分も外しました。
なるほど、たしかにパーツは多くなるけど掃除はかなり細かくできますね。
コーヒーミルは掃除大事なんですよ。
組み立てよう

分解していった時の逆手順で組み立てますが、重要な注意点がこちら。
刃を入れて、組み立てる前にゼロにセットしておかないと、挽目がデタラメになってしまいます。
逆時計回りで回していって、一番しめた状態から、少し戻してゼロにセットします。
「外側に挽き目調整ダイヤルがついてる」というのは1zpressoだけの特徴ゆえに、使って分解したあと忘れがちです。
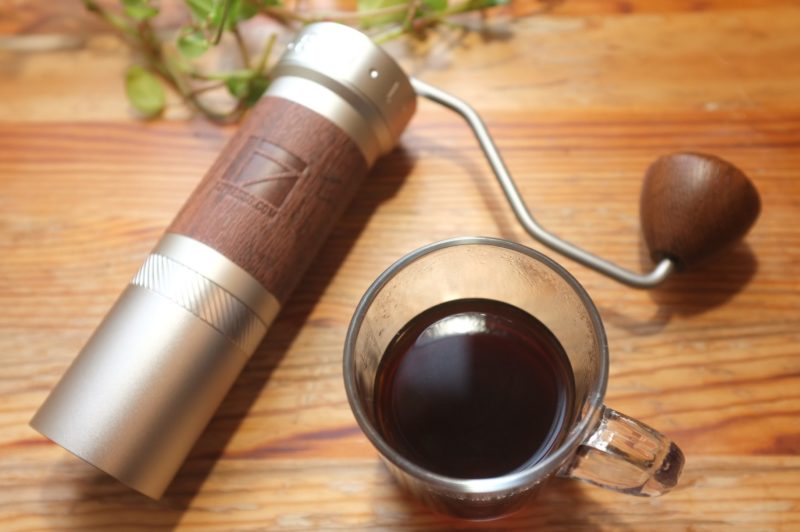
1Zpresso K-Pro使ってみた
では、早速使っていきましょう。挽目は75でいってみます。
はい。コーヒー豆を入れます。今回は14g使います。
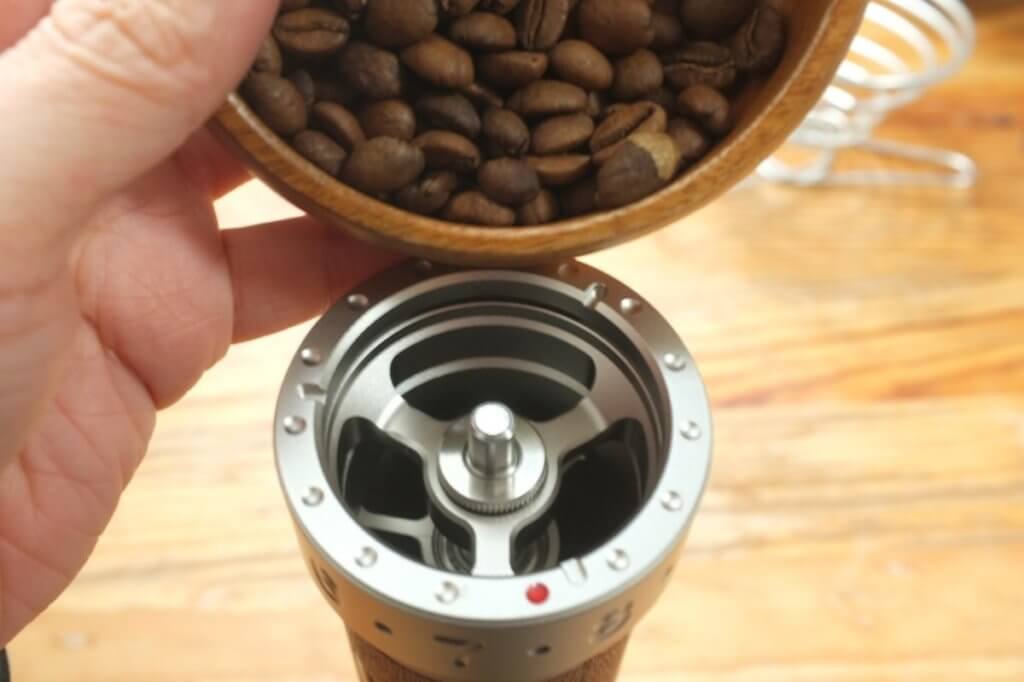
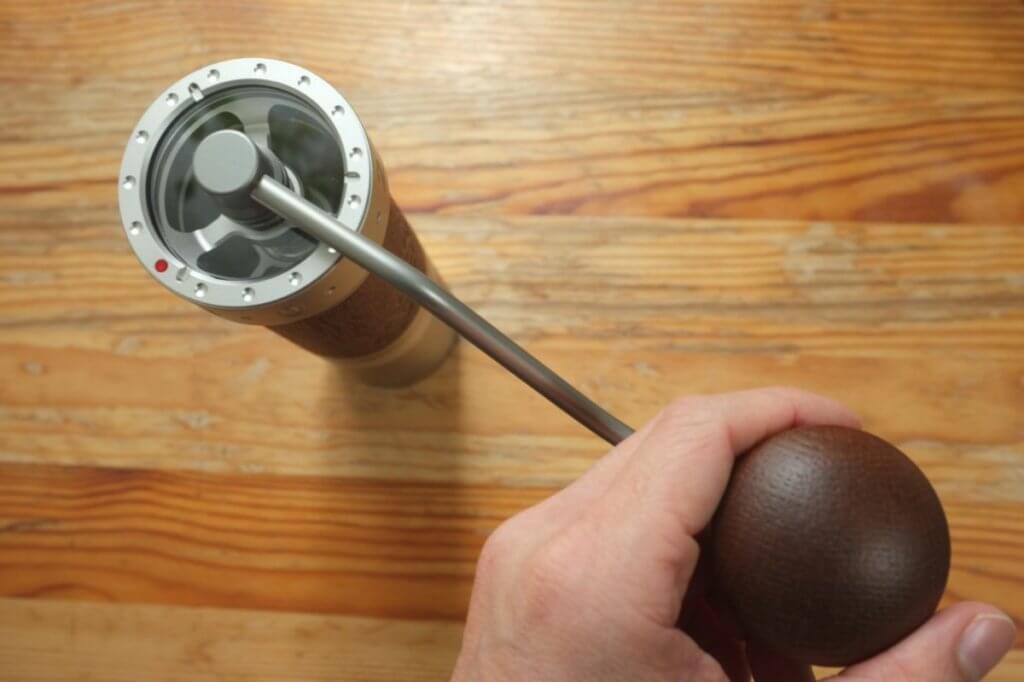
アームを回す。
 ひろ
ひろはっ!軽い!メチャかるやん。しかも、回す回数が少なく、挽く時間も短い!!
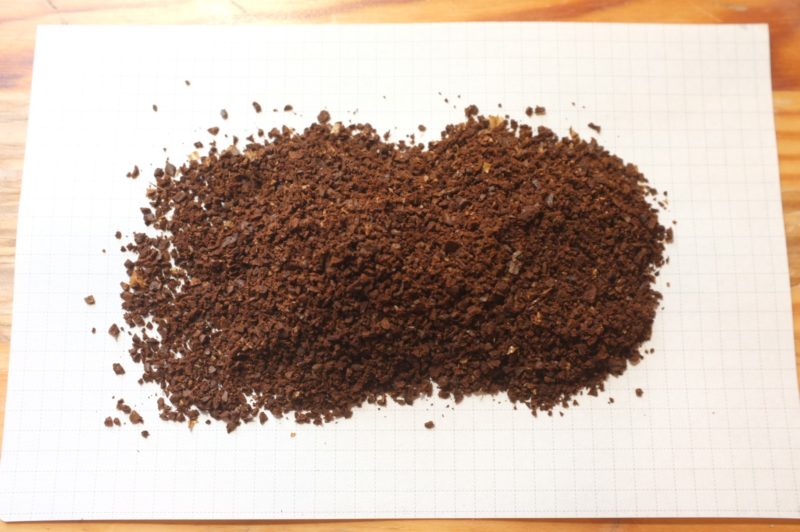
コーヒー豆14g使用/25回転/35秒
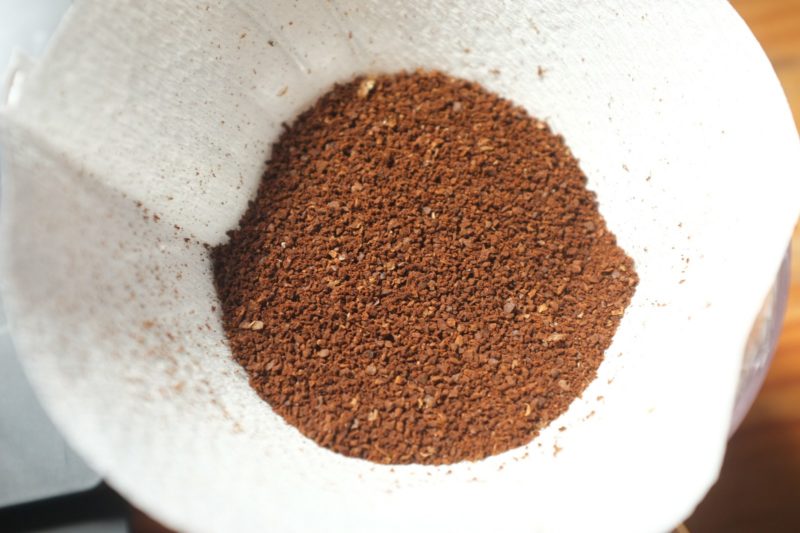
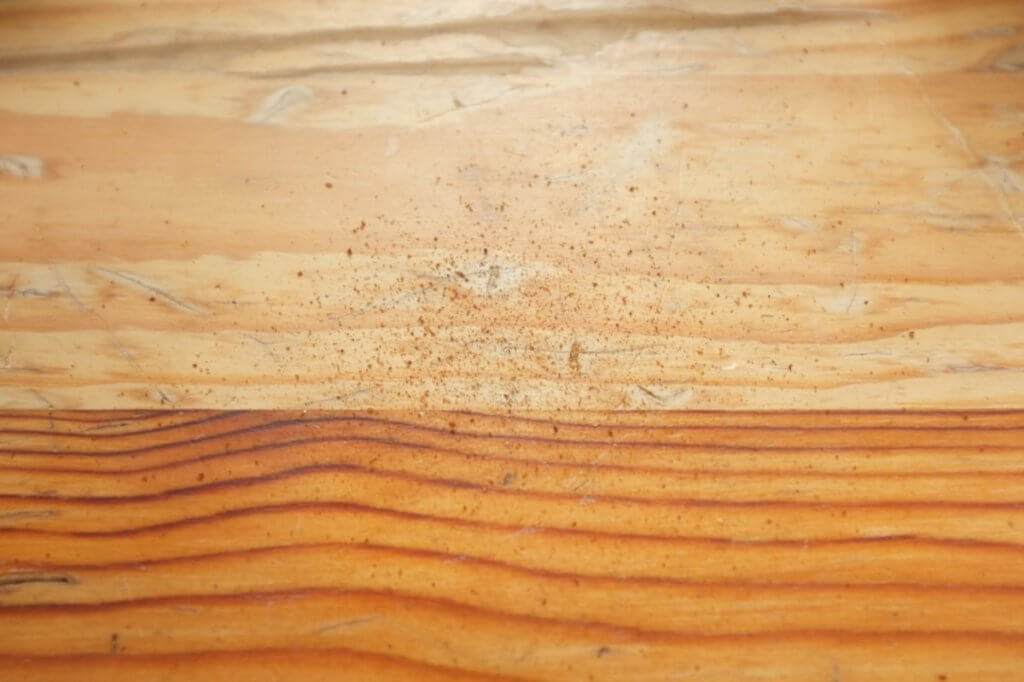
コーヒー粉を見てみましょう。
コーヒー粉の残りも少ないですね。
#75 ペーパードリップ中細挽き
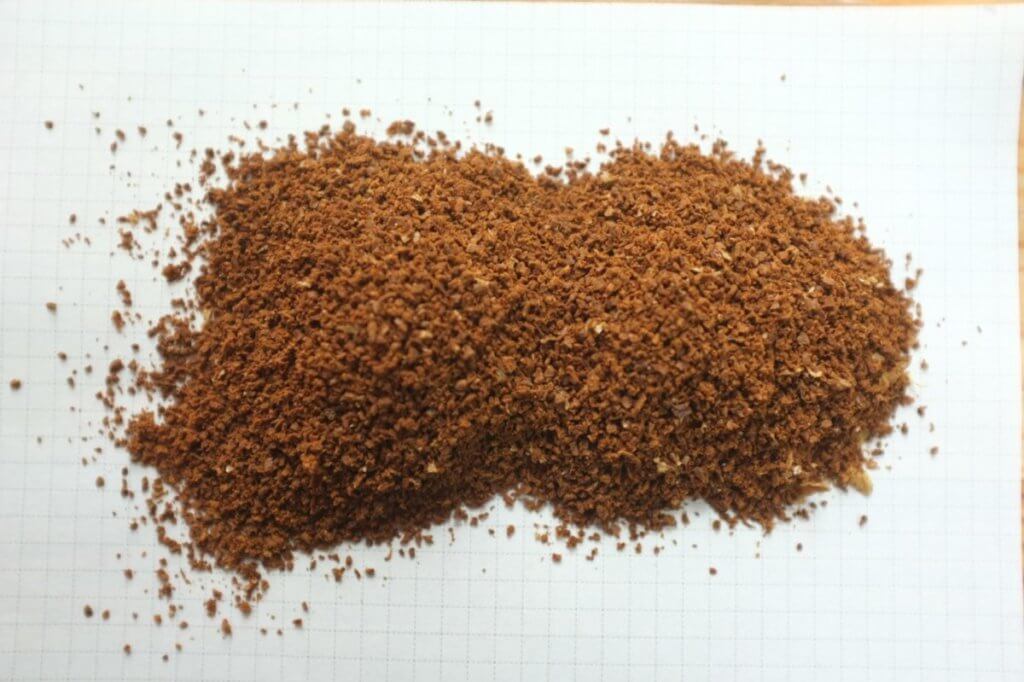
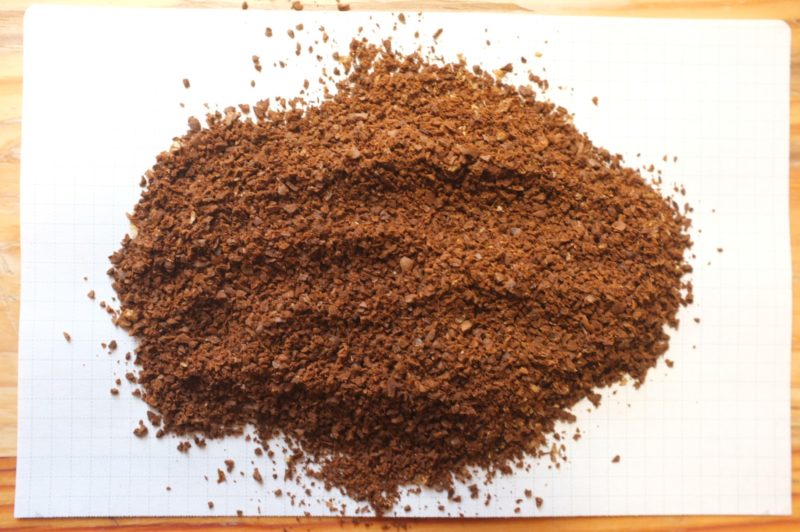
さらによく見てみましょう。
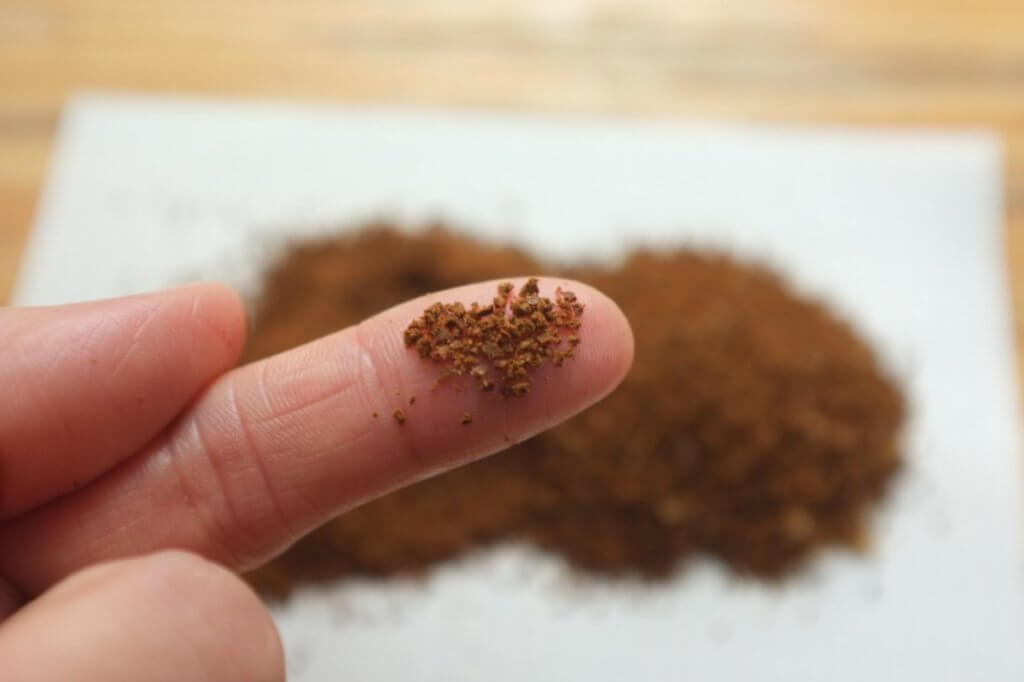
 ひろ
ひろおわかりいただけただろうか?豆を切った粒の鋭角さが
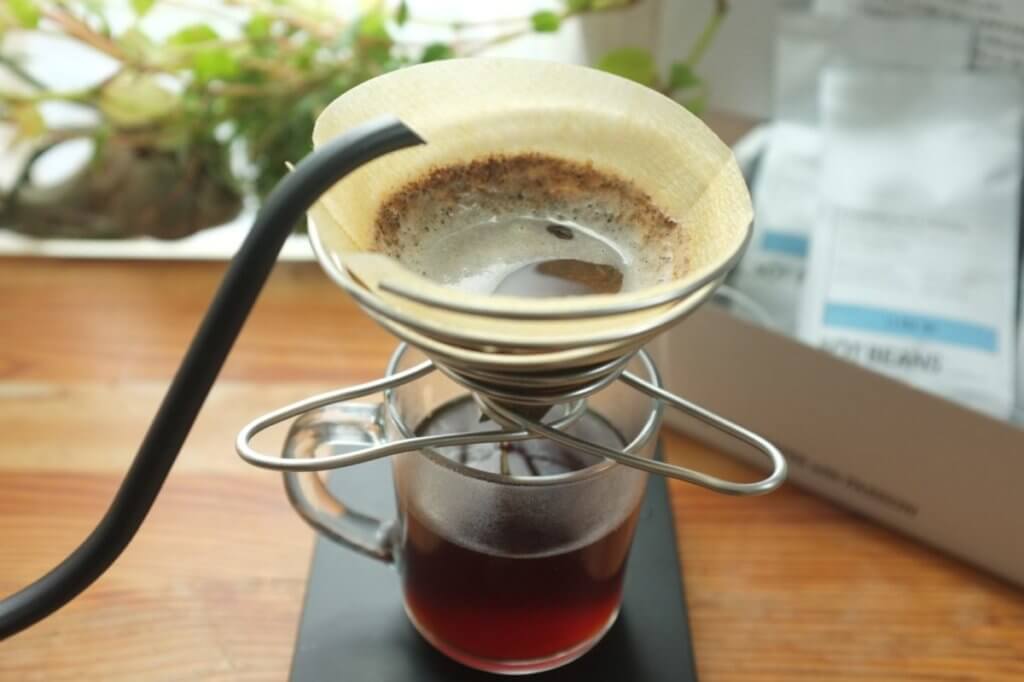
では、淹れていきます。
お湯を注いで、ペーパードリップで落としていきましょう。
1Zpresso K-Proの味は?
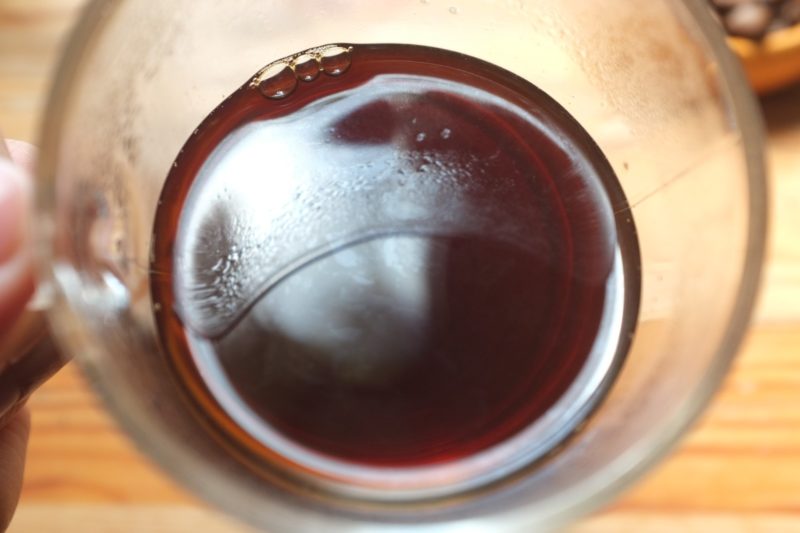
 ひろ
ひろクリアな味かつ、はっきりと味の輪郭がわかる。鮮明なコーヒーの味わい
味には何の問題もない。というより解像度が高くなる。コーヒーミルのなかでもトップクラスなのは間違いない。
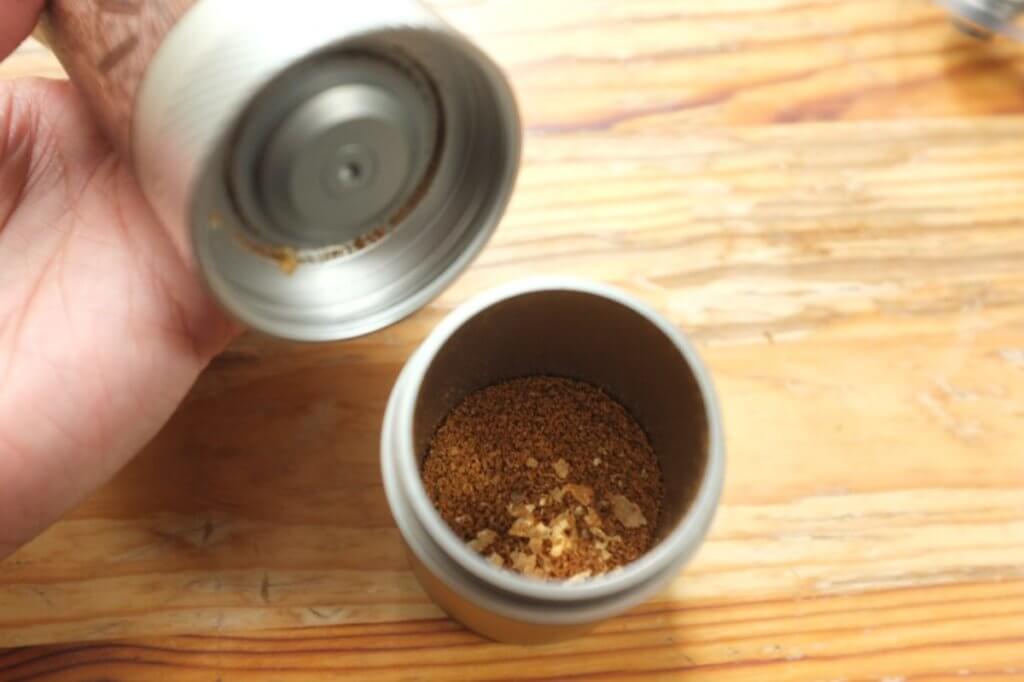
1Zpresso K-Proお手入れ
使ったあとは掃除しましょう。特にいろんなコーヒーを飲む人は、掃除しないとミルのなかで前に使った別の豆とブレンドされちゃいますから。
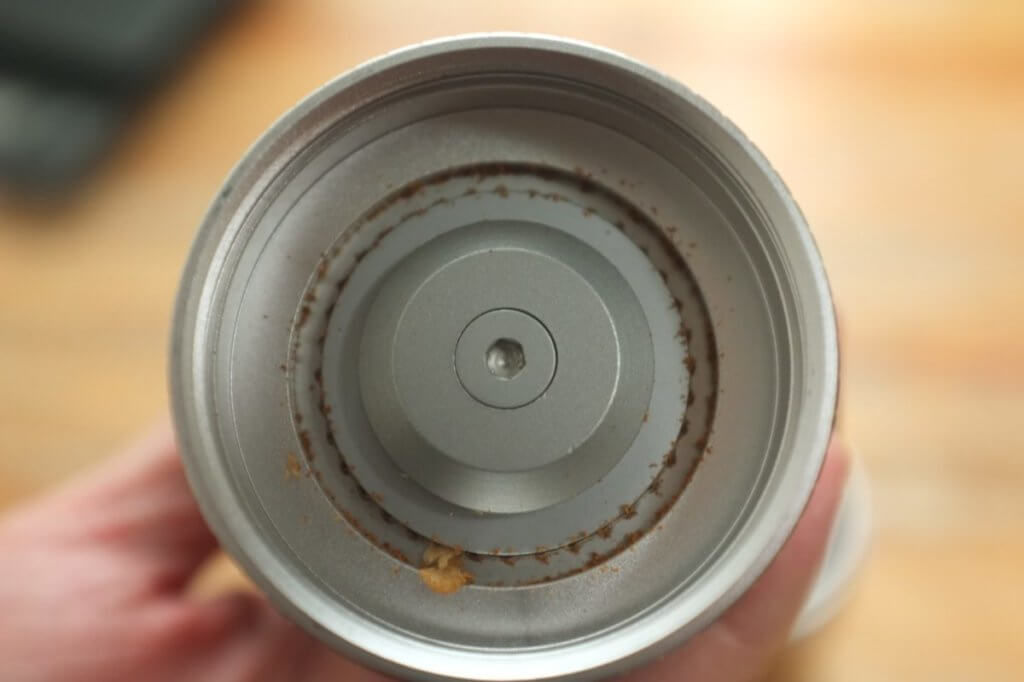
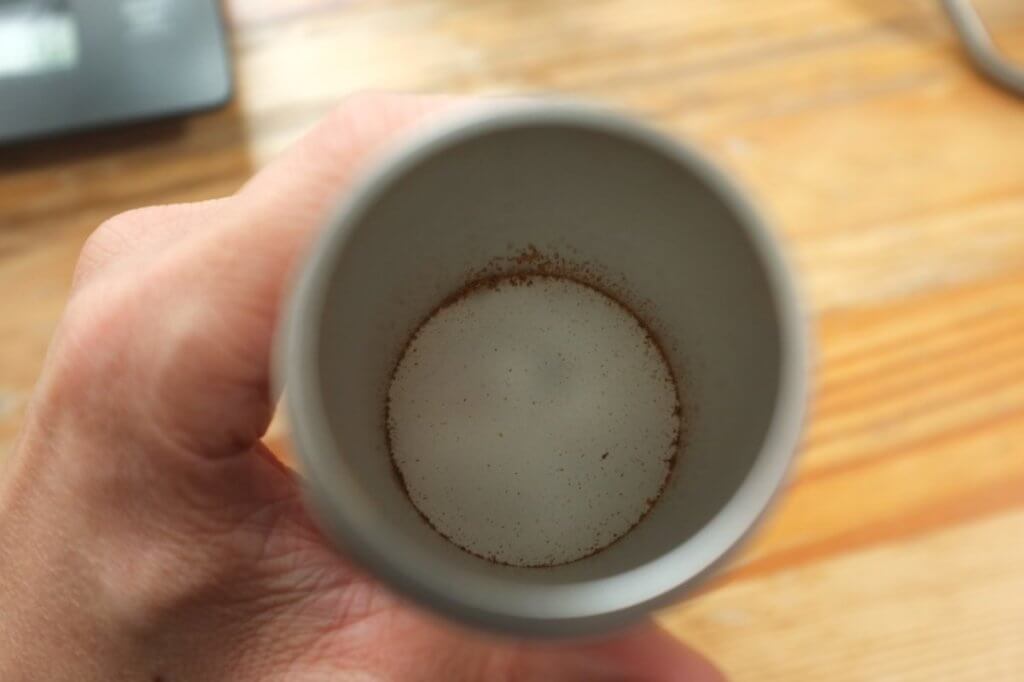
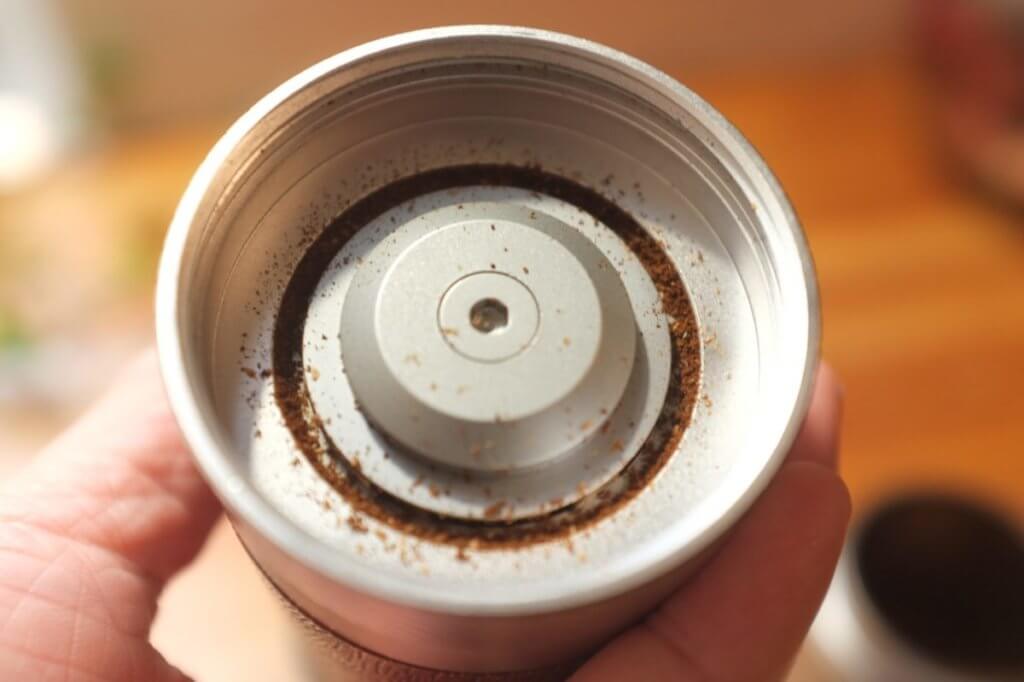
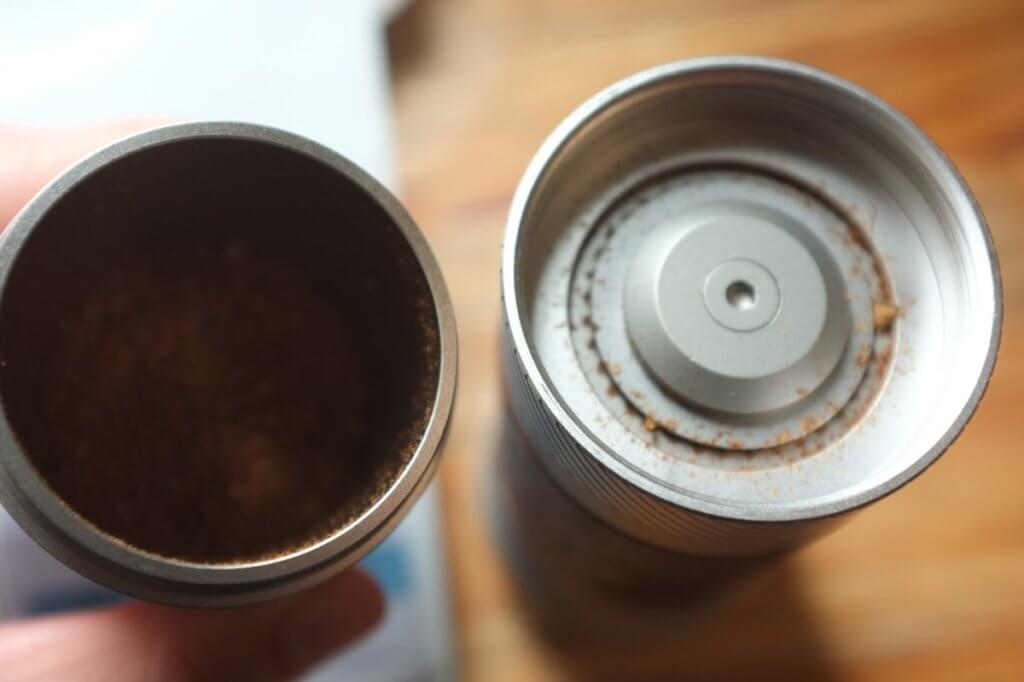
刃の部分を見てみましょう。コーヒー豆14g使用で挽目#75の中細挽きで、これぐらい残りますよと。
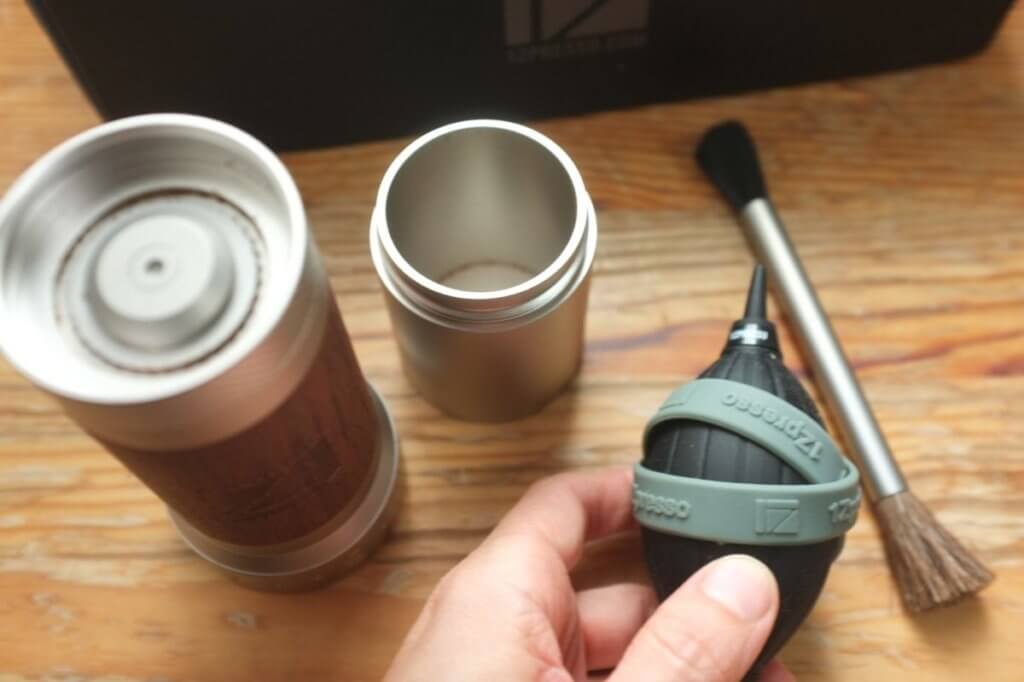
すべり止めを付けて分解していきます。
ブラシとブロアーを使って残った粉を落としていきます。

コーヒー豆14g挽いて本体に残ったコーヒー粉はこれぐらいです。微々たるものかもしれませんが、味を判断したいってときは掃除してからですね。
1Zpresso K-Proメリット・デメリット
使ってみて感じたメリット・デメリットを挙げていきます。まずはデメリットから、
デメリット
・重い
・構造が複雑
・粉受けが小さい?
まず「重い」問題は、どうしようもないので「慣れろ」ということでいいとして、
次「構造が複雑」は外部で調節ができて、細かく分解できる分、構造が複雑です。分解して組み立てるとき「えーっとぉ…」と戸惑ったけど、これも「慣れろ」ということでいいとして、
最後「粉受けが小さい?」は、ちょっと残念なことがありまして。というのもコーヒー豆20gを#75やや細挽きで挽いて、開けたら、ワフって出てきたんですよね。
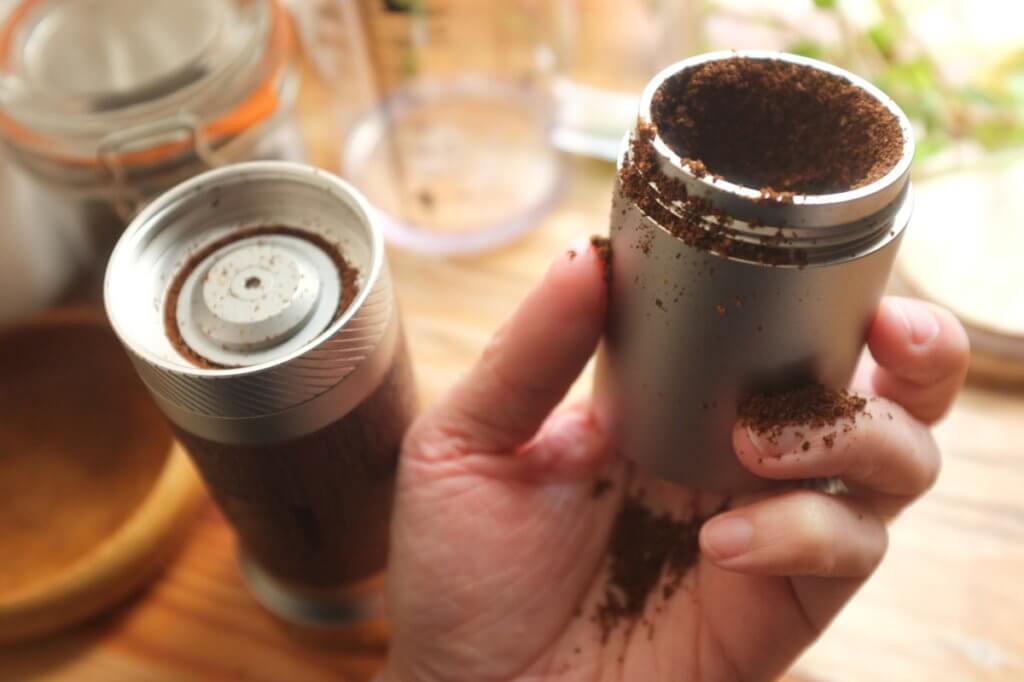
排出のところの溝につまってたんじゃないかと思われる。
後日、#70でさらに細い設定で、豆14gだと大丈夫でした。
20gと14gの6gの違いか、そもそもゼロセットが間違っていたのか、豆によって違うのか。もうちょっと使って検証させてください。
メリット
・120段階で粒度の設定ができる
・数値で粒度の設定ができる
・外側で粒度の設定ができる
・力がいらない
・早く挽ける
・挽きやすい
・ユーザーのフォローがいい
・細かく分解できる
まず「数値で粒度の設定ができる」は、1Zpressoの最大の特徴なので、やっぱりいいなと感じました。しかも外側でできるのはわかりやすいし「コーヒーを淹れる」際の多くの工程の一つを軽減してくれて、コーヒー豆に集中できますね。
次に「力がいらない」「早く挽ける」「挽きやすい」はワンセットで、アームを回してゴリゴリ挽くときの使用感は抜群にいいですね。スペシャルティコーヒーの浅煎りの豆は硬いので、挽くのに力がいるけど、1Zpressoはめちゃラクです。
最後「ユーザーのフォローがいい」というのは、ブロアーとブラシ、ラバーバンドが付属していて、使用者の行動や使い勝手も、ちゃんとデザインされているということ。これは非常に大事なポイントだと思います。
「細かく分解できる」もその分、掃除しやすいということで、掃除しやすい設計にしてるということですね。
120段階の挽目
#75〜#95ドリップ・サイフォン
#100〜#115フレンチプレス
挽目の写真は使うごとに足していきます。
まとめ
1Zpressoは挽きやすいユーザーファーストの設計
ひろ気に入りました!特に力が要らないと早く挽けるは突出してますね。
全般的に超優等生でメイン候補です
ビターなら日本モデルでしょ。メインで使うならこのデザインを手にしたいよね

今日も寄っていただきありがとうございます。やっぱ日本モデルかっこいいなああ。欲しいっす。
コメント
コメント一覧 (2件)
すいません、公式見たらKPROって90段階みたいなんですが、120設定できるんでしょうか?
120って日本モデルだけみたいな説明も見たのですが…
たしかに公式には90clickと出てますね。実機で確認したわけではないのですがJP-proと作りは同じだそうです。JP-proの120段階は、調整リングの0から一回りして3の目盛りまでをカウントしています。K-proは0から0まで1周をカウントして90段階としているようですね。